Setting Up Python 3, Django & Gunicorn on Linux Mint 17.3
Linux Mint 17.3 "Rosa" is December 2015 release of the polished and widely-used Linux distribution. This Mint release includes both Python 2.7 and 3.4 by default, but in this tutorial we will download and install the latest Python 3.5.1 version to run our Django application.
If you want to use a different Linux distribution such as Ubuntu instead of Mint, check out the tutorial for Ubuntu 16.04 "Xenial Xerus". If Mint is your desired development environment though, let's get started!
Tools We Need
Our setup will use several system packages and code libraries to get up and running. Do not worry about installing these dependencies just yet, we will get to them as we progress through the tutorial. The tools and their current versions as of June 2016 are:
- Linux Mint 17.3 "Rosa" with the default Cinnamon desktop
- Python version 3.5.1
- Django web framework version 1.9.x
- Green Unicorn (Gunicorn) version 19.6
If you are on Mac OS X or Windows, my recommendation is to use virtualization software such as Parallels or VirtualBox with the Linux Mint Cinnamon desktop .iso.
We should see a desktop screen like this one when we boot up the operating system for the first time.

Open up terminal to proceed with the configuration.
System Packages
We can see the Python version Linux Mint comes with, as well as where its executable is stored.
python3 --version
which python3
The output of those two commands should be (these are not commands to run):
Python 3.4.3
/usr/bin/python3

We really want to use the latest Python release instead of the default 3.4 when starting a new Python project, so let's download and install 3.5.1 now.
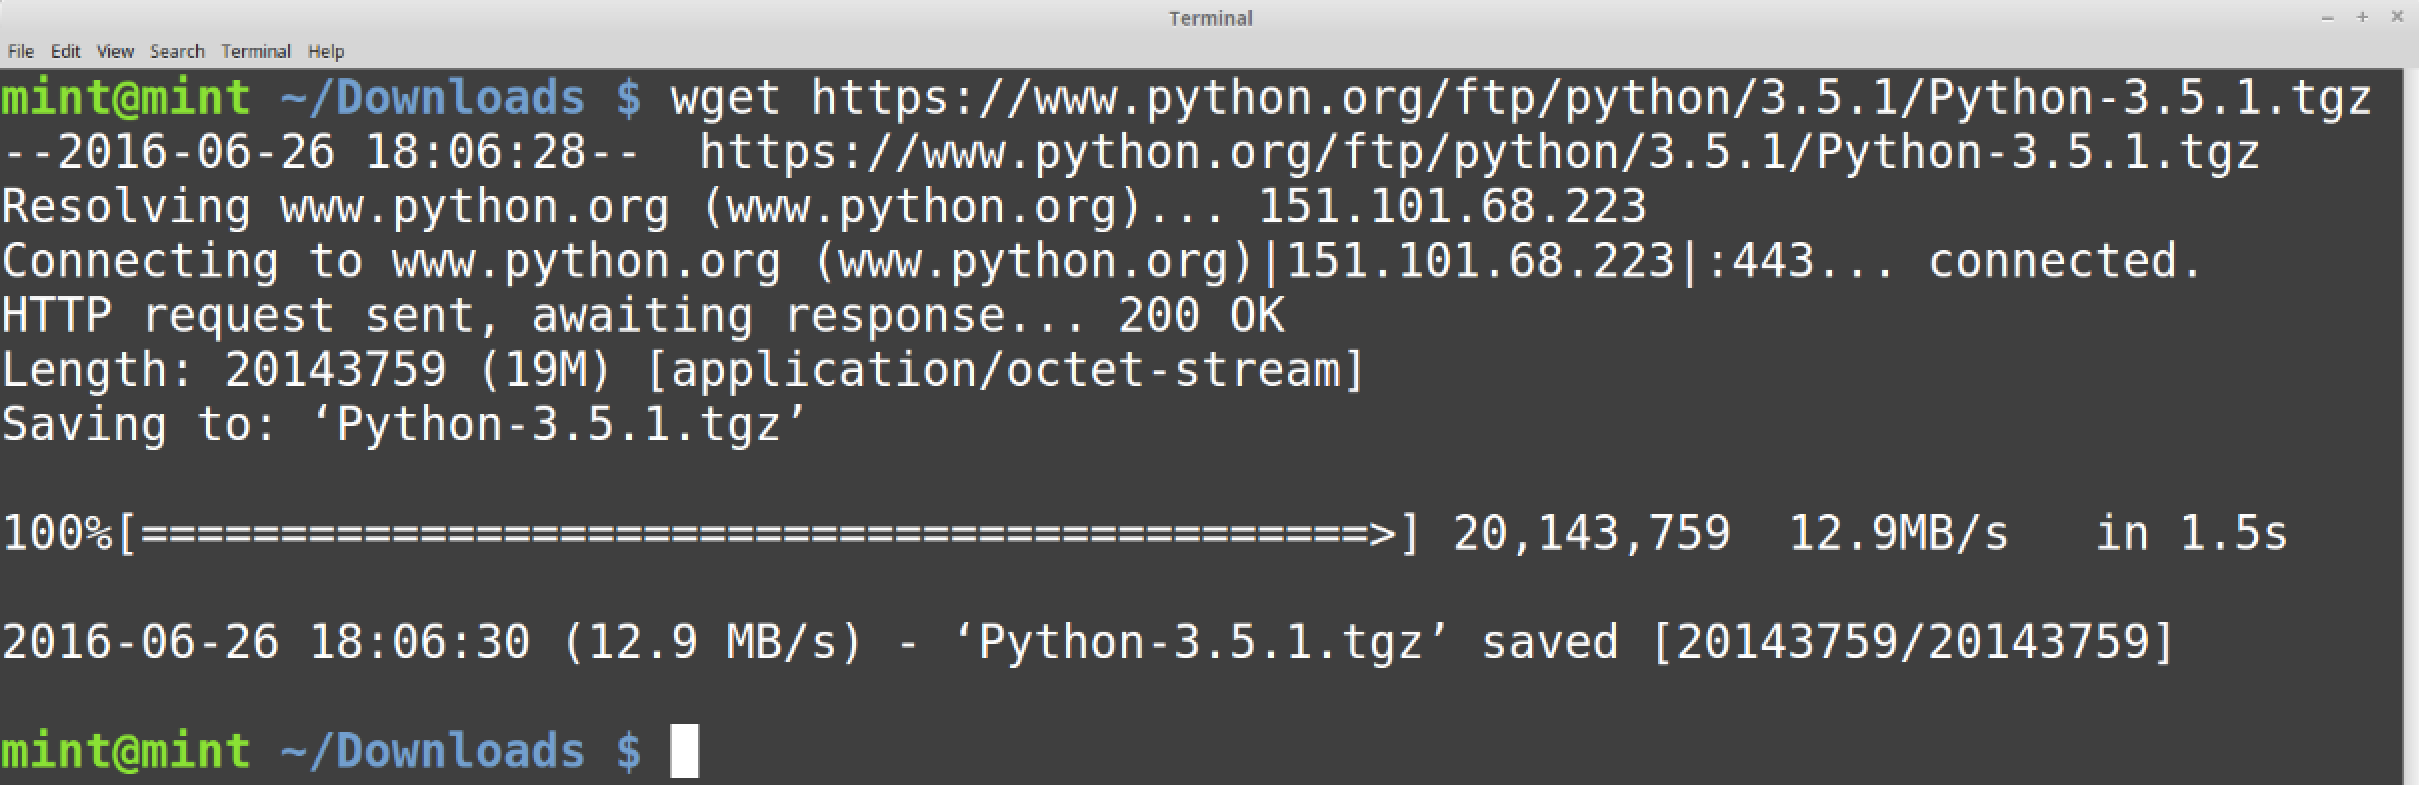
Run these commands in the terminal to download Python 3.5.1 source code:
cd ~/Downloads
wget https://www.python.org/ftp/python/3.5.1/Python-3.5.1.tgz
Extract the Python source code:
tar -xvf Python-3.5.1.tgz
Linux Mint is not configured by default to build the Python source code. We need to update our system package lists and install several packages to make building the Python source code possible. If you have a password on your user account, enter it when prompted to allow the installation to proceed.
sudo apt update
sudo apt install build-essential checkinstall
sudo apt install libreadline-gplv2-dev libncursesw5-dev libssl-dev
sudo apt install libsqlite3-dev tk-dev libgdbm-dev libc6-dev libbz2-dev
sudo apt install python3-dev
Once the packages are installed, we can configure and install Python from source.
cd Python-3.5.1
./configure
sudo make install
Test that the installation worked properly by starting up the Python REPL:
python3.5
If the REPL starts up properly with Python 3.5.1 in the output then we're good to go.

The basic system packages we need are now installed so we can proceed to our Python-specific dependencies.
Virtual environment and pip
Python 3.5 comes with the virtual environment and pip applications so we can use them to handle our application dependencies.
Create a directory to store virtual environments then create a virtualenv for our Django project.
# the tilde "~" specifies the user's home directory, like /home/matt
cd ~
mkdir venvs
# specify the system python3 installation
python3.5 -m venv djangoproj
Activate the virtualenv.
source ~/venvs/djangoproj/bin/activate
Our virtual environment is properly activated when we see (djangoproj)
prepended to our prompt.

Our virtualenv with Python 3.5.1 is activated so we can install whatever
dependencies we want, such as Django and Gunicorn. Our default python
command is also set to use the Python 3.5.1 installation instead of the
Python 2.7 version that comes with Linux Mint.
Django and Gunicorn
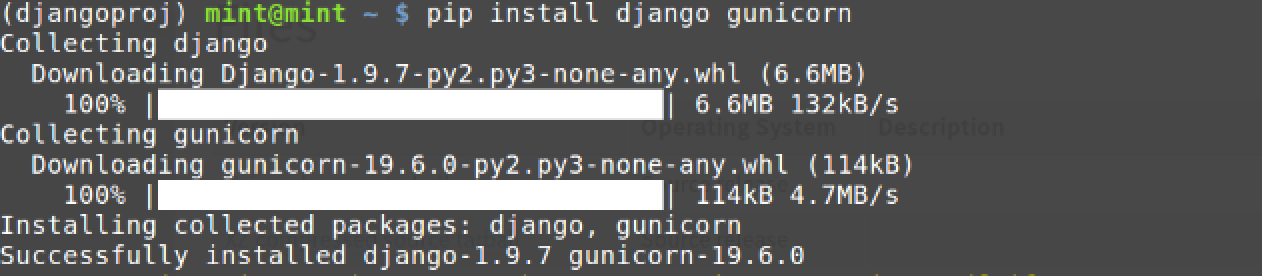
Now we can install Django and Green Unicorn into our virtual environment.
pip install django==1.9.7 gunicorn==19.6
If there are no errors in the pip output then that is a good sign we can proceed.
Create a new Django project named djangoproj, or whatever you want to name
your project. Change into the directory for the new project.
cd ~
django-admin startproject djangoproj
cd djangoproj
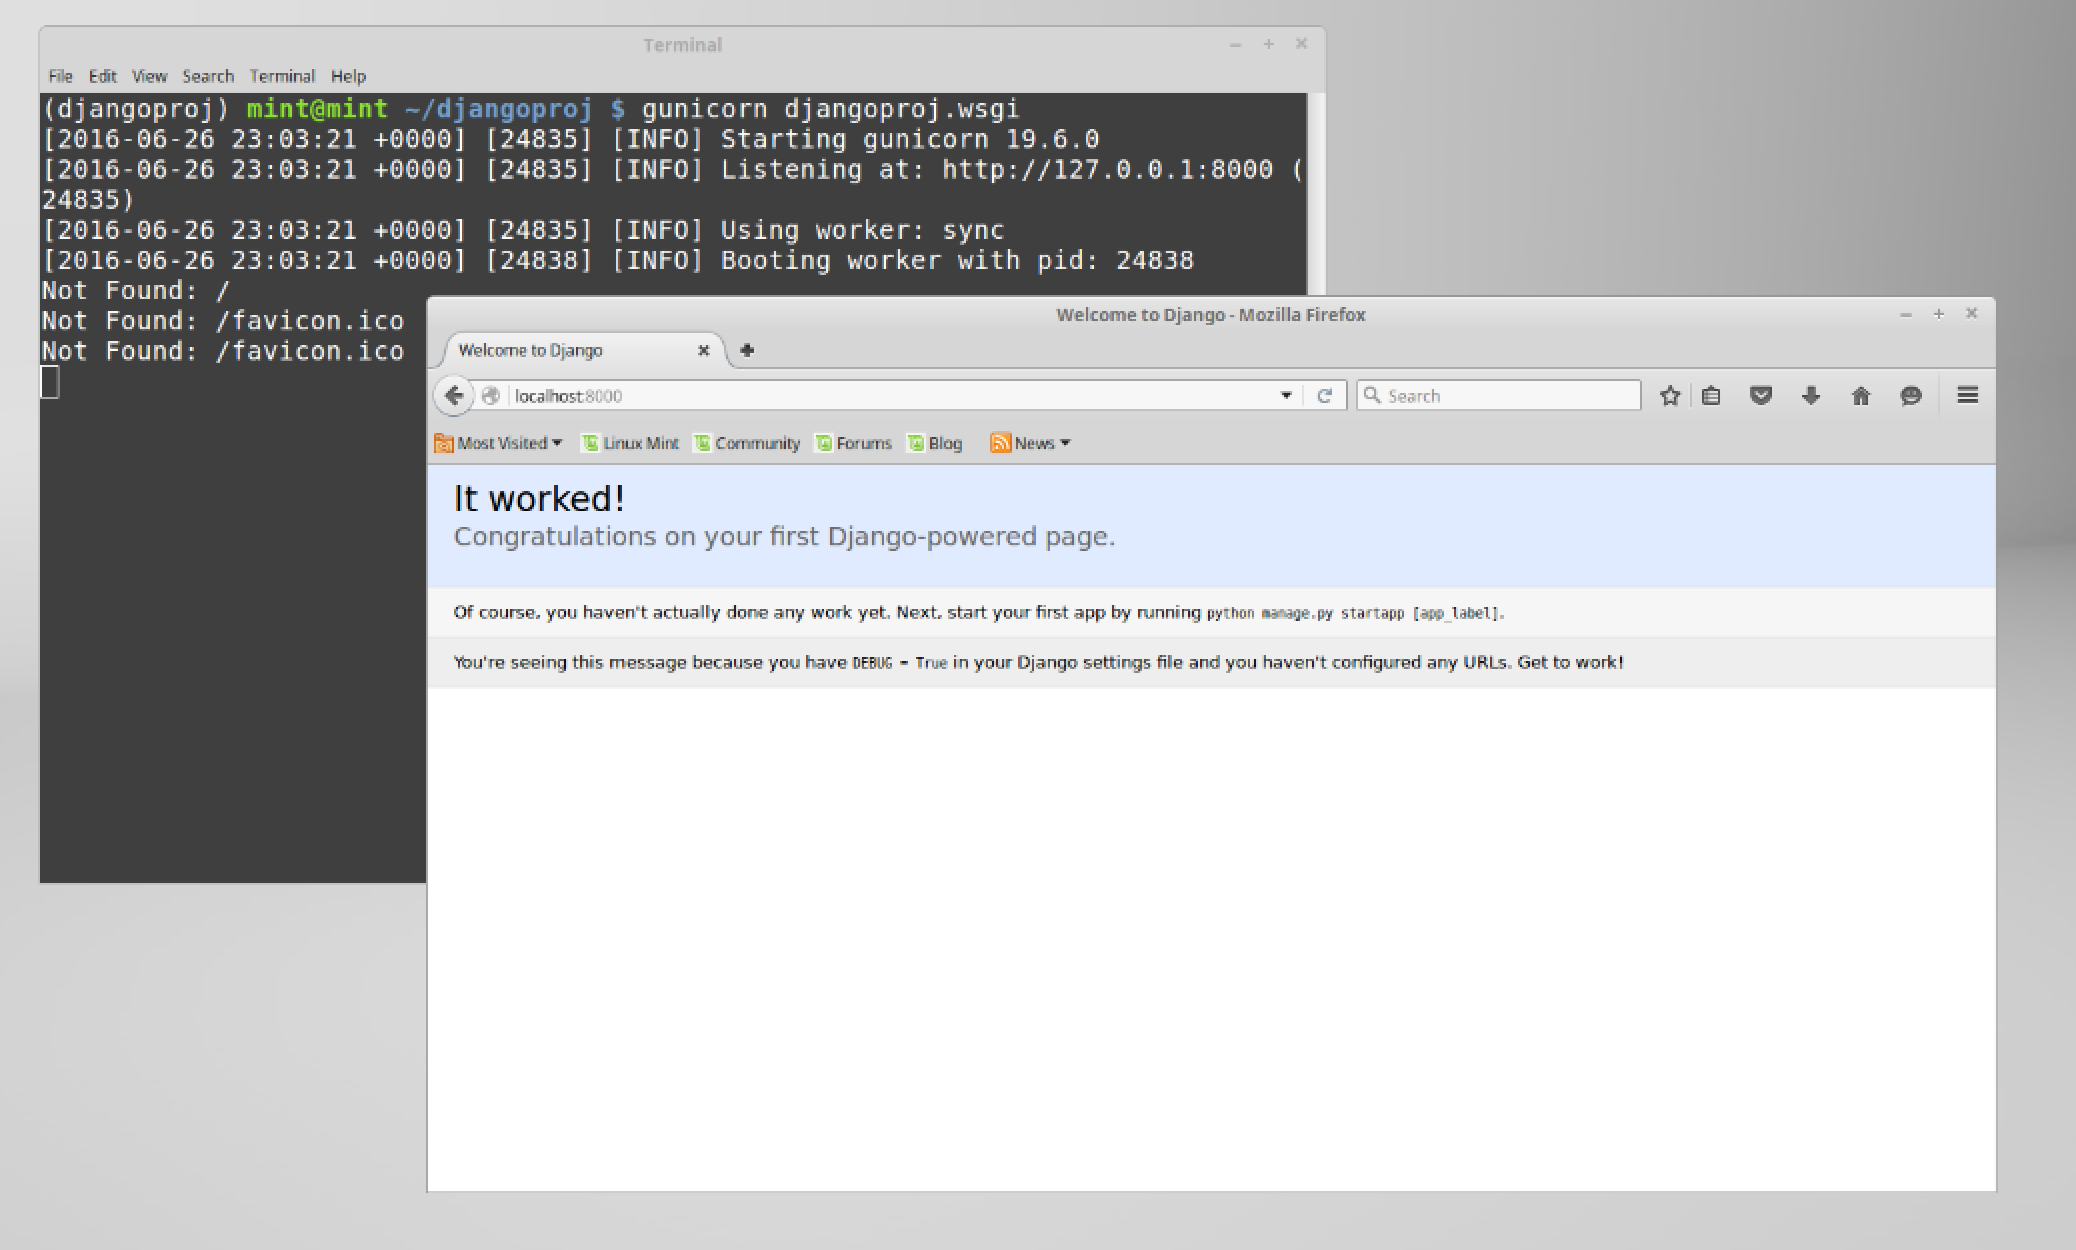
We can run Django using the development server with the
python manage.py runserver command. However, start Django up with
Gunicorn instead.
gunicorn djangoproj.wsgi

Awesome, we can bring up our shell project in the web browser at the http://localhost:8000 or http://127.0.0.1:8000 address.
Now you're ready for Django development!
Ready for Development
Those are the first few steps for beginning development with Django and Gunicorn on Linux Mint 17.3 "Rosa". If you need an even more in-depth walkthrough for deploying your Python web application to a production environment, check out the Full Stack Python Guide to Deployments book.
To figure out what to do next for your Python project, read the topics found on the table of contents page.
Questions? Contact me via Twitter @fullstackpython or @mattmakai. I'm also on GitHub with the username mattmakai.
See something wrong in this post? Fork this page's source on GitHub and submit a pull request.