How to Provision Ubuntu 16.04 Linux Servers on Linode
Your live web application must be deployed and run somewhere other than your local development environment. That deployment location is known as a "production environment" and it is built out of one or more servers.
Let's learn how to provision an Ubuntu Linux 16.04 LTS virtual private server (VPS) on Linode that can be used for production or development purposes.
Signing up for Linode
We need a Linode account to provision a server, so start by pointing your web browser to Linode.com. Their landing page will look something like the following image.
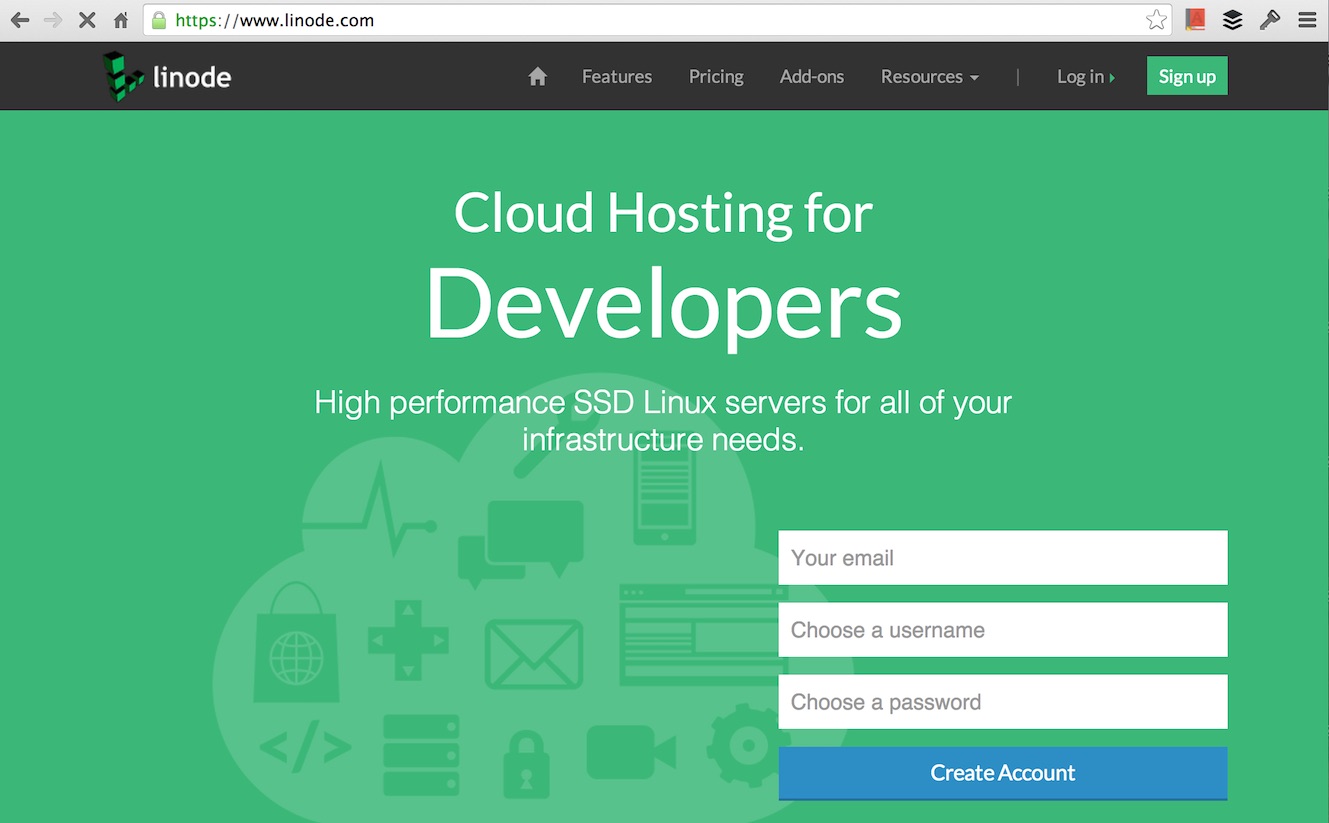
Sign up for an account.

You should receive an email for account confirmation. Fill out the
appropriate information and add initial credit to your account. If you
want to enter a referral code, mine is
bfeecaf55a83cd3dd224a5f2a3a001fdf95d4c3d. Your account will go for
a quick review to ensure you are not a malicious spam bot and then
your account will be fully activated.
Once your account is activated refresh the page. The new page will allow you to add a Linode instance.
Provisioning a server for $5 or $10/month (depending on how much memory and storage you want) is more than enough for small-scale Python web applications.
Select the 1024 option and the data center location of your choice. I chose Newark, NJ because I grew up in northern NJ and otherwise the location is not important for my deployment. If your most of your users are located in a specific region then you should select the data center location closest to them.
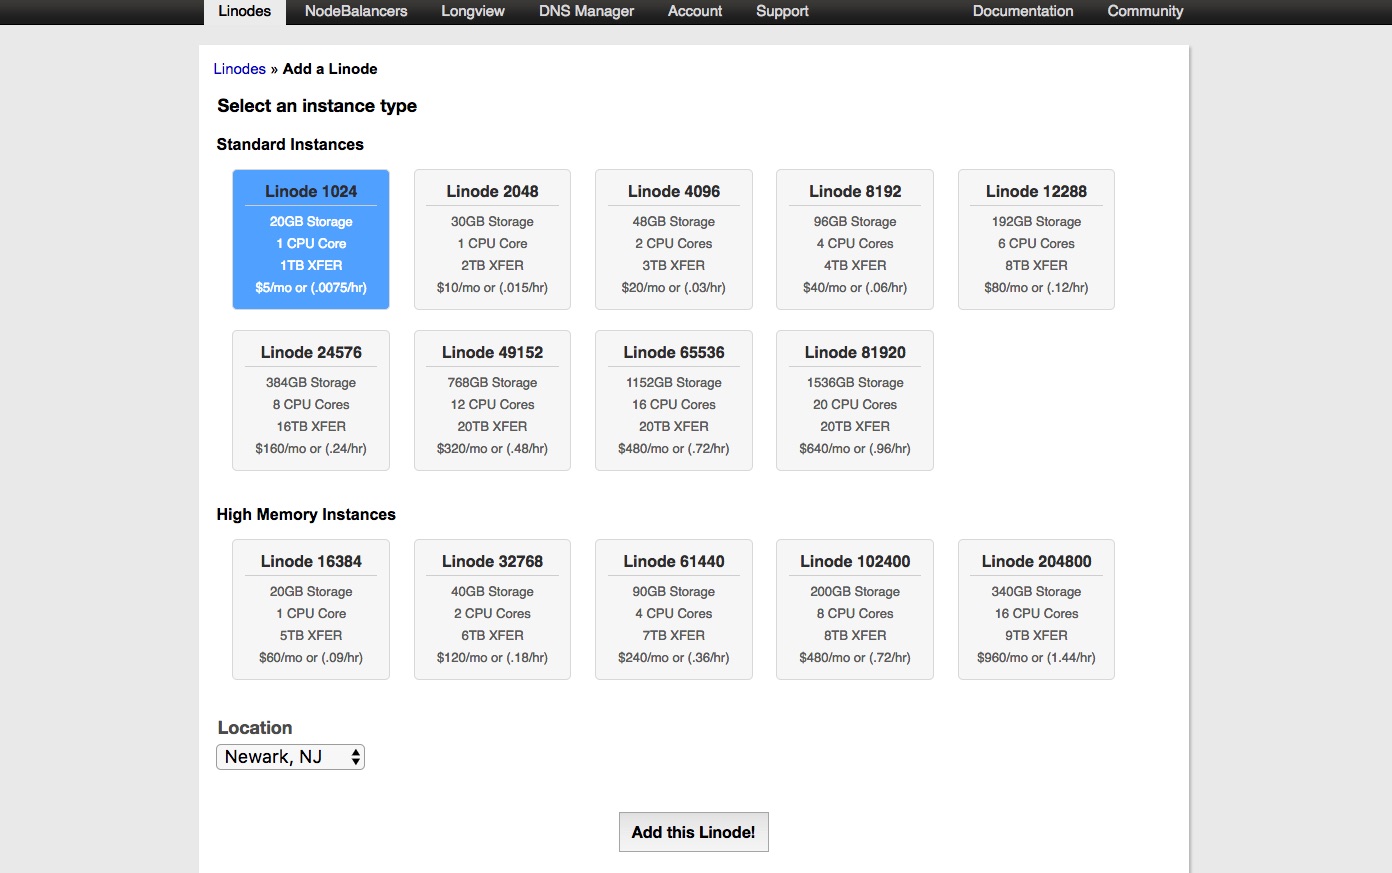
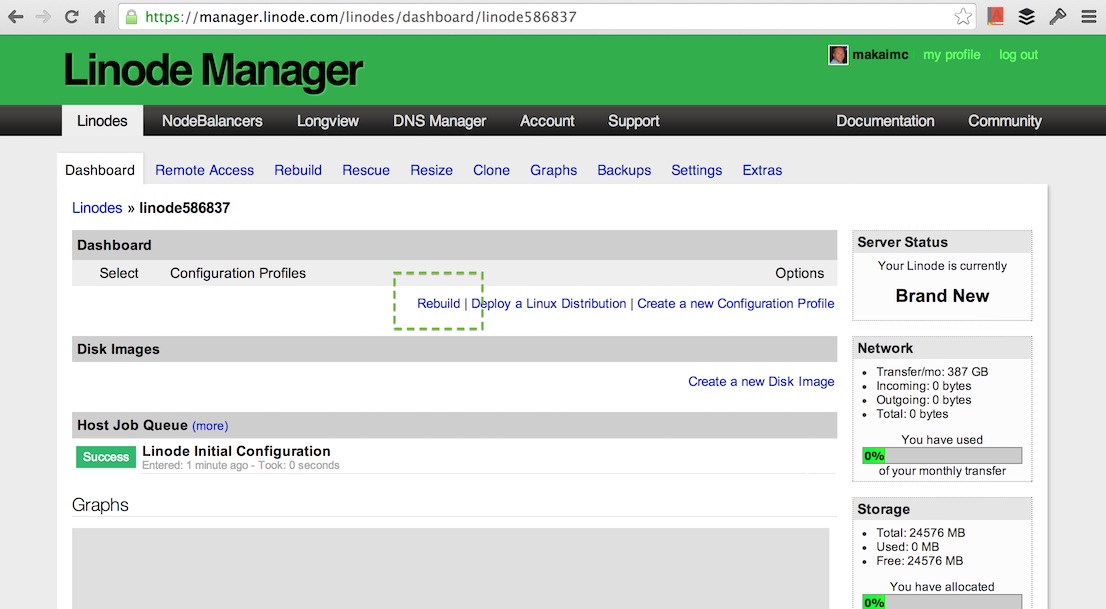
Click the "Add this Linode!" button and a dashboard will appear that shows the Linode is being provisioned.
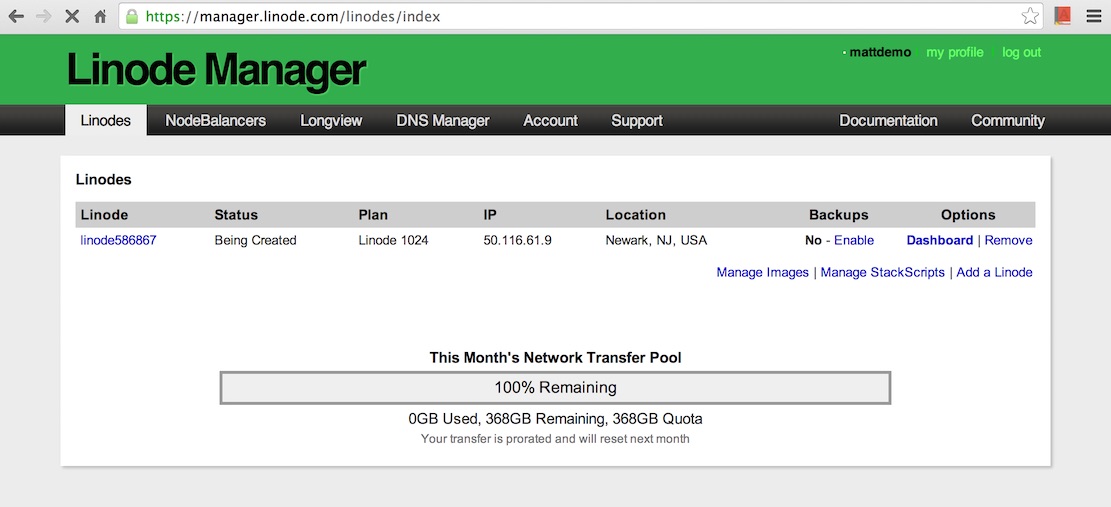
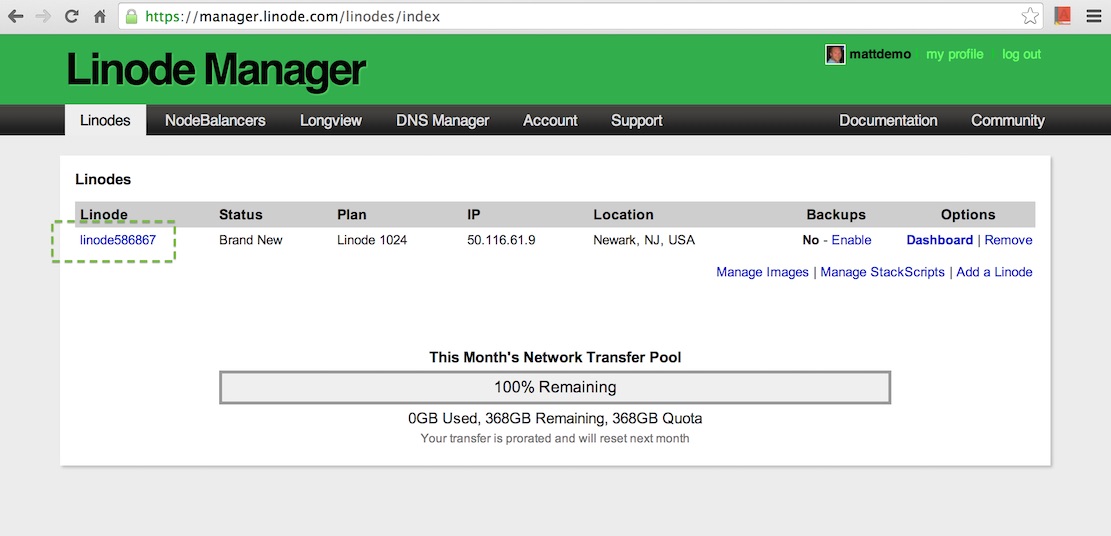
Refresh the page and look for the status to change to "Brand New." Write down or copy the IP address as it will be needed later to SSH into the server, then click on the name of the Linode. A page will appear to show more information about your new virtual private server.
Click the "Rebuild" link.
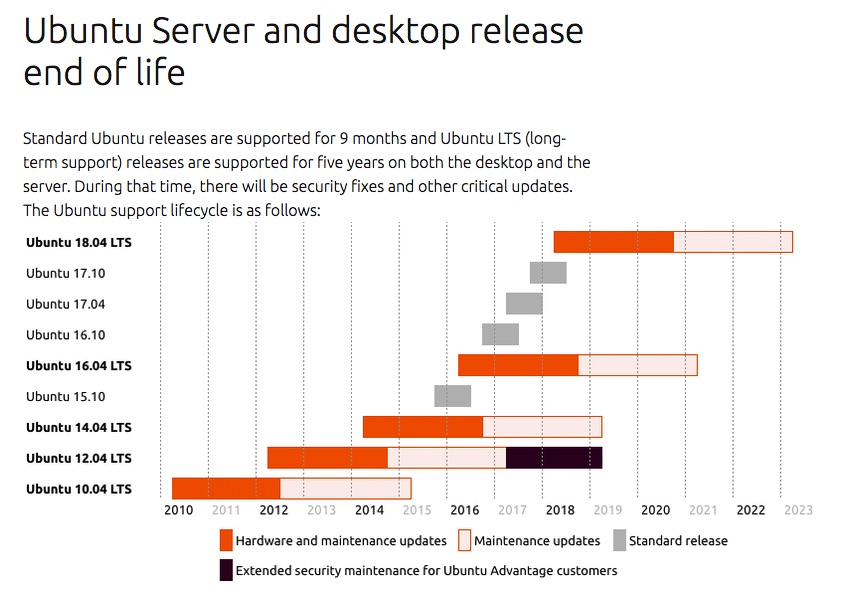
Select Ubuntu 16.04, which is the current Long Term Support (LTS) release and has a 5 year support lifecycle. This version will receive security updates until April 2021 as shown on the Ubuntu wiki page for LTS releases.
Enter a root password. Make sure you type the password in carefully and remember it! The password will be needed when you log into the server as the root user. The "Deployment Disk Size" and "Swap Disk" can be left as their default values.

When the build process begins Linode will send us back to our server's dashboard page. The progress bars will show the status and in a couple of minutes the server will be ready to boot up.
Boot and Log In
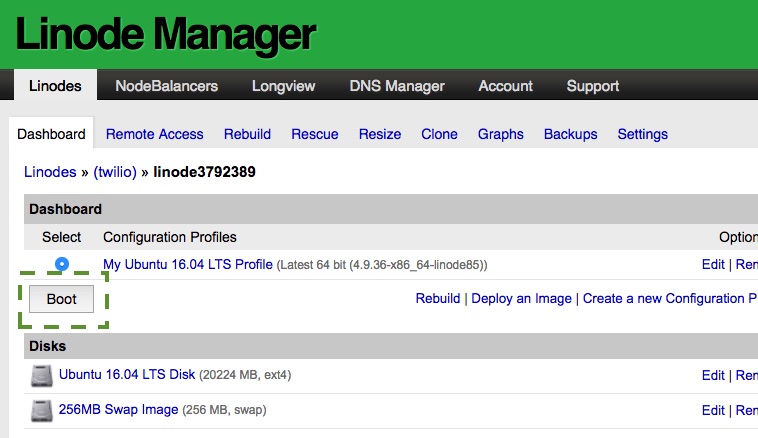
Click the "Boot" button and the Ubuntu boot process will get started. Booting should take less than a minute. Bring up your local command line as we will need it to connect to the remote machine.
SSH into your server with ssh root@{ip.address.here} where
{ip.address.here} is your server's IP address, which can be found on the
Linode dashboard. For example, if your new Linode's IP address
is 66.175.209.129, you'll enter ssh [email protected].
You'll likely receive a prompt like the following warning. This prompt
states that you've never connected to this server before and it asks if
you are sure that this host's signature matches the server on which you
intend to connect. Enter yes then enter the root password you created
during the earlier Linode server provisioning step.
The authenticity of host '66.175.209.192 (66.175.209.192)' can't be established.
RSA key fingerprint is 51:3c:ba:bc:c3:83:1a:36:b1:2d:e3:f6:6d:f0:11:56.
Are you sure you want to continue connecting (yes/no)? yes
A message like "Welcome to Ubuntu 16.04.3 LTS" will appear followed by a prompt. Now we can enter commands on the remote machine to get the server secured and setup.
Next Steps
You are all set to start configuring your server. You will want to immediately create SSH keys and disable password logins as well as install tools like fail2ban.
Questions? Contact me via Twitter @fullstackpython or @mattmakai. I'm also on GitHub with the username mattmakai.
See something wrong in this post? Fork this page's source on GitHub and submit a pull request.