How to Monitor Python Functions on AWS Lambda with Sentry
Amazon Web Services (AWS) Lambda is a usage-based compute service that can run Python 3 code. Errors can happen in any environment you are running your application in, so it is necessary to have reliable monitoring in place to have visibility when a problem occurs.
In this post we will install and configure Sentry's application monitoring service that works specifically for code running on AWS Lambda.
Application Dependencies
A local development environment is not required to follow this tutorial because all of the coding and configuration can happen in a web browser through the AWS Console.
The example code can be copy and pasted from this blog post or you can access it on GitHub under the Full Stack Python blog-post-examples repository within the monitor-python-aws-lambda-sentry directory.
Accessing the AWS Lambda Service
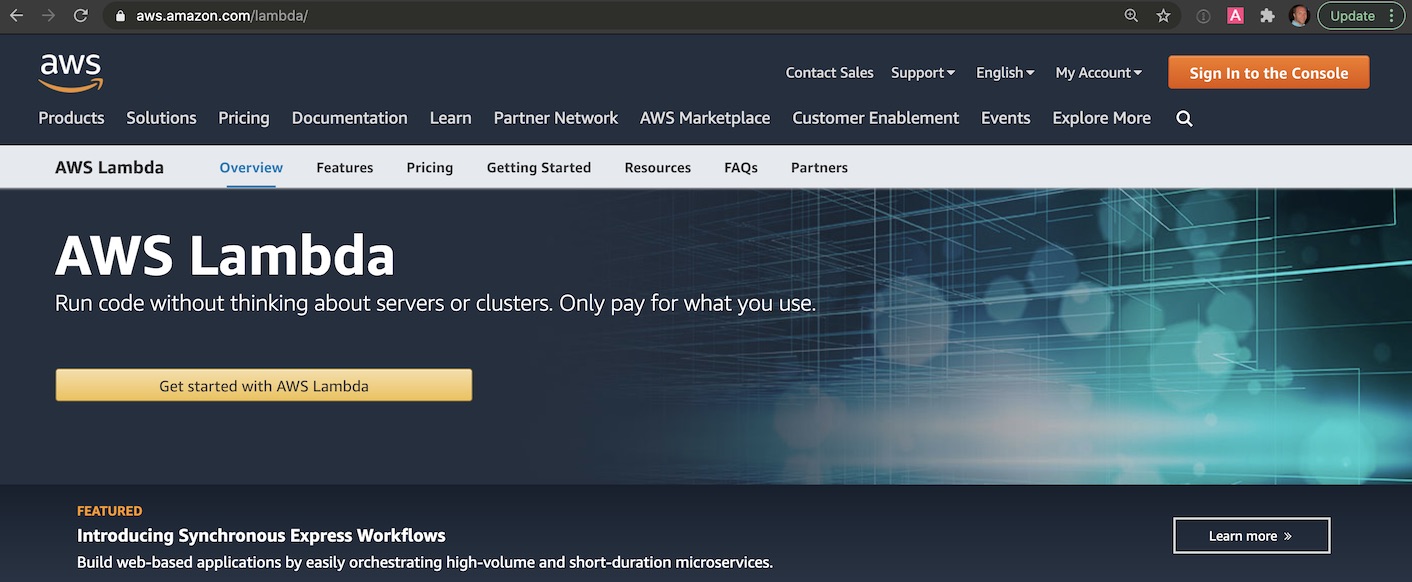
Sign into your existing AWS account or sign up for a new account. Lambda gives you the first 1 million requests for free so that you can execute basic applications without no or low cost.
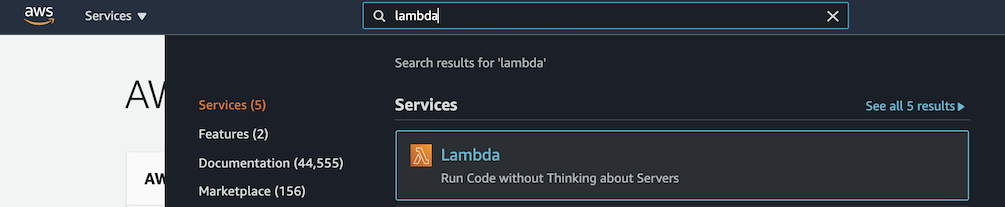
When you log into your account, use the search box to enter "lambda" and select "Lambda" when it appears to get to the right page.
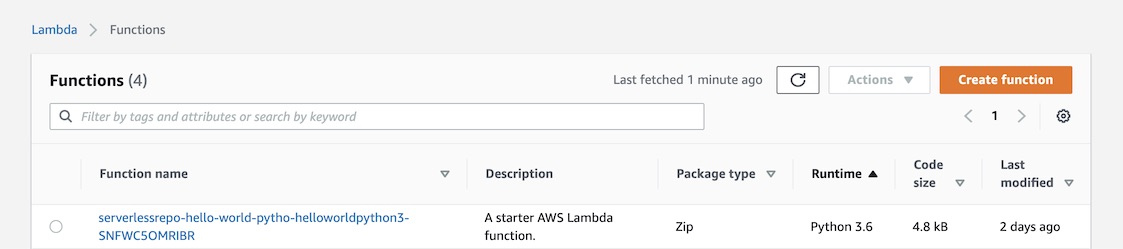
If you have already used Lambda before, you will see your existing Lambda functions in a searchable table. We're going to create a new function so click the "Create function" button.

The create function page will give you several options for starting a new Lambda function.
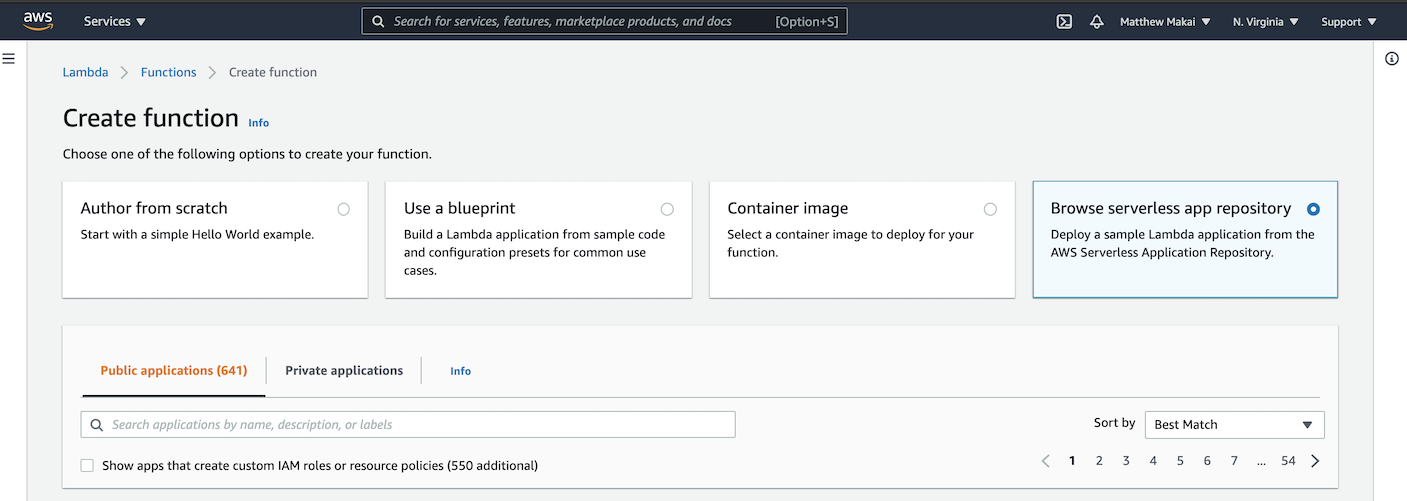
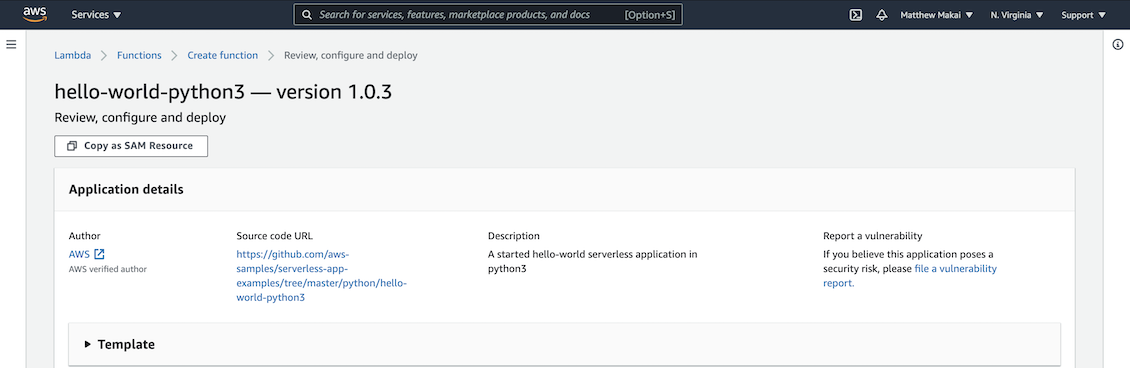
Click the "Browse Serverless App Repository" selection box, then choose the "hello-world-python3" starter app from within the "Public applications" section.
The hello-world-python3 starter app details page should look something like the following screen:
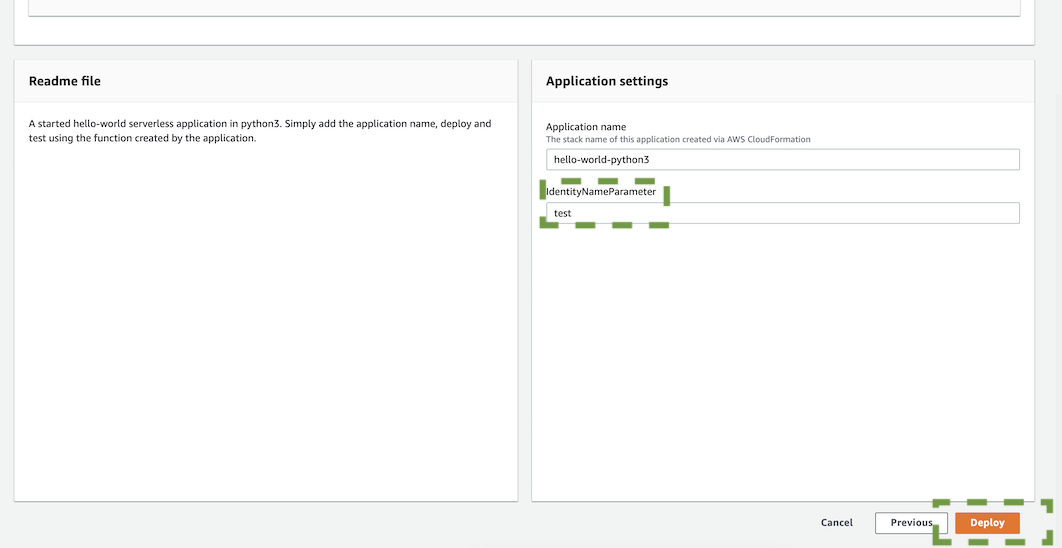
Fill in some example text such as "test" under IdentityNameParameter
and click the "Deploy" button:
The function will now be deployed. As soon as it is ready we can customize it and test it out before adding Sentry to capture any errors that occur during execution.
Testing the starter Python app
Go back to the Lambda functions main page and select your new deployed starter app from the list.
Find the orange "Test" button with a down arrow next to it like you see in the image below, and then click the down arrow. Select "Configure Test Event".

Fill in the Event name as "FirstTest" or something similar, then press the "Create" button at the bottom of the modal window.
Click the "Test" button and it will run the Lambda function with the parameters from that new test event. You should see something like the following output:
Response
"value1"

Function Logs
START RequestId: 62fa2f25-669c-47b7-b4e7-47353b0bd914 Version: $LATEST
value1 = value1
value2 = value2
value3 = value3
END RequestId: 62fa2f25-669c-47b7-b4e7-47353b0bd914
REPORT RequestId: 62fa2f25-669c-47b7-b4e7-47353b0bd914  Duration: 0.30 ms   Billed Duration: 1 ms   Memory Size: 128 MB Max Memory Used: 43 MB  Init Duration: 1.34 ms

Request ID
62fa2f25-669c-47b7-b4e7-47353b0bd914
That means the test case was successful, but what happens even if there is a straightforward mistake in the code, such as trying to access an undeclared variable?
Go into the code editor and you should see the starter code like this:
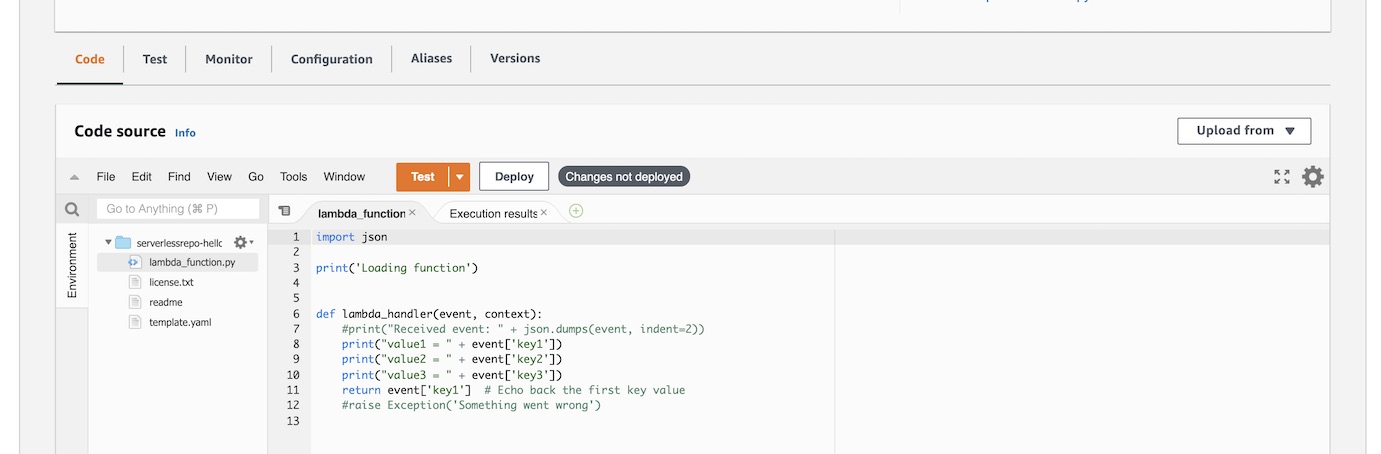
Update the code with the new highlighted line, which tries to access a fourth variable, which does not exist in the test configuration we try to run it with.
import json

print('Loading function')


def lambda_handler(event, context):
    #print("Received event: " + json.dumps(event, indent=2))
    print("value1 = " + event['key1'])
    print("value2 = " + event['key2'])
    print("value3 = " + event['key3'])
    print("value4 = " + event['key4'])
    return event['key1']  # Echo back the first key value
    #raise Exception('Something went wrong')
After adding that one new line of code, hit the "Deploy" button, then the "Test" button. You should see some error output:
Response
{
  "errorMessage": "'key4'",
  "errorType": "KeyError",
  "stackTrace": [
    [
      "/var/task/lambda_function.py",
      11,
      "lambda_handler",
      "print(\"value4 = \" + event['key4'])"
    ]
  ]
}

Function Logs
START RequestId: a4e956bd-cce4-403e-b5e7-e95bc3ffa2cb Version: $LATEST
value1 = value1
value2 = value2
value3 = value3
'key4': KeyError
Traceback (most recent call last):
  File "/var/task/lambda_function.py", line 11, in lambda_handler
    print("value4 = " + event['key4'])
KeyError: 'key4'

END RequestId: a4e956bd-cce4-403e-b5e7-e95bc3ffa2cb
REPORT RequestId: a4e956bd-cce4-403e-b5e7-e95bc3ffa2cb  Duration: 0.81 ms   Billed Duration: 1 ms   Memory Size: 128 MB Max Memory Used: 43 MB  Init Duration: 1.61 ms

Request ID
a4e956bd-cce4-403e-b5e7-e95bc3ffa2cb
It is obvious when we are working in the Console that an error just occurred. However, in most cases an error will happen sporadically which is why we need a monitoring system in place to catch and report on those exceptions.
AWS Lambda function monitoring with Sentry
The easiest way to add Sentry to Lambda for this application is to configure an AWS Lambda Layer with the necessary dependency for Sentry. Sentry has concise documentation on addin gvia Lambda Layers so we will walk through that way to configure it and test it out.
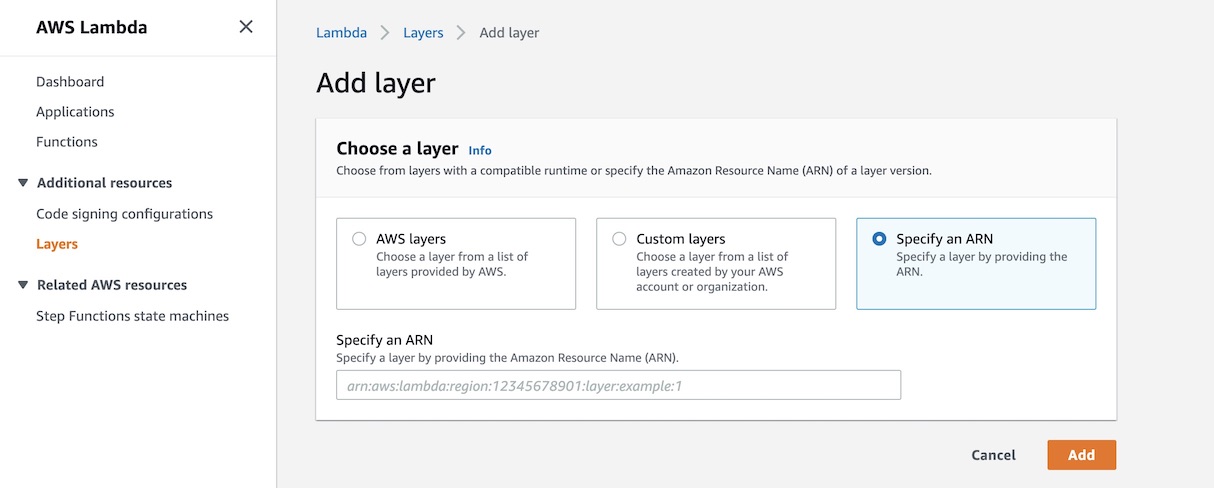
First, scroll down to the "Layers" section while in your Lambda function configuration. Click the "Add a layer" button":

In the "Add layer" screen, select the "Specify an ARN" option.
Now to specify the Amazon Resource Name (ARN), we need to use the Sentry documentation to get the right configuration string.
US-East-1 is the oldest and most commonly-used region so I'll use that here in this tutorial but you should check which one you are in if you are not certain.
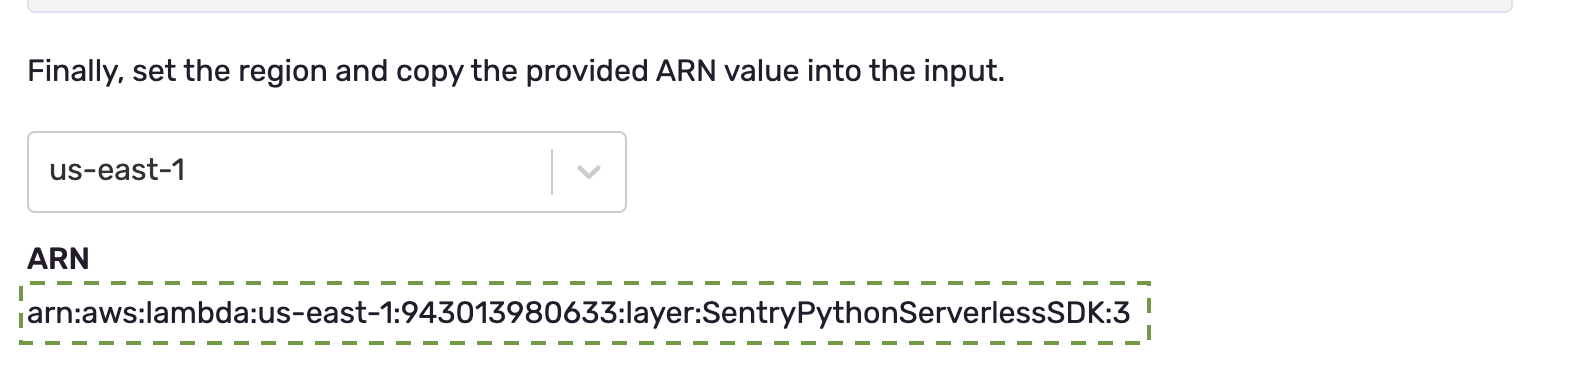
Copy that value into the Lambda Layer configuration, like this:
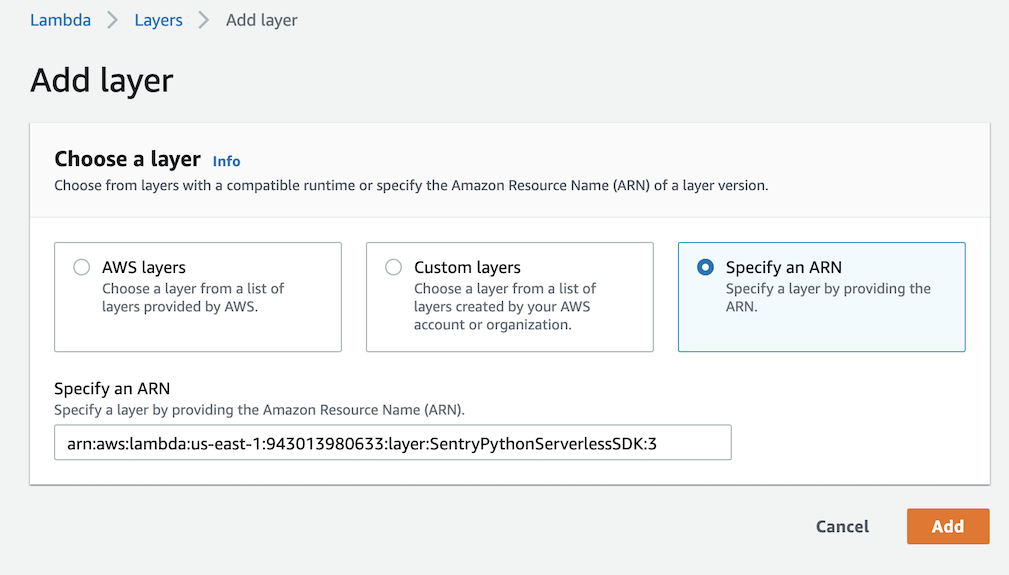
Then press the "Add" button. Now you have the Sentry dependency in your environment so code that relies upon that library can be used in the Lambda function.
Next we need to go into the Sentry dashboard to create a project, get our unique identifer, and connect it to our Lambda function.
Sentry can be self-hosted or used as a cloud service through Sentry.io. We will use the cloud hosted version because it is quicker than setting up your own server as well as free for smaller projects.
Go to Sentry.io's homepage.

Sign into your account or sign up for a new free account. You will be at the main account dashboard after logging in or completing the Sentry sign up process.
There are no errors logged on our account dashboard yet, which is as expected because we have not yet connected our account to our Lambda function.
Click "Projects" on the left navigation bar, then "Create Project" in the top right corner.
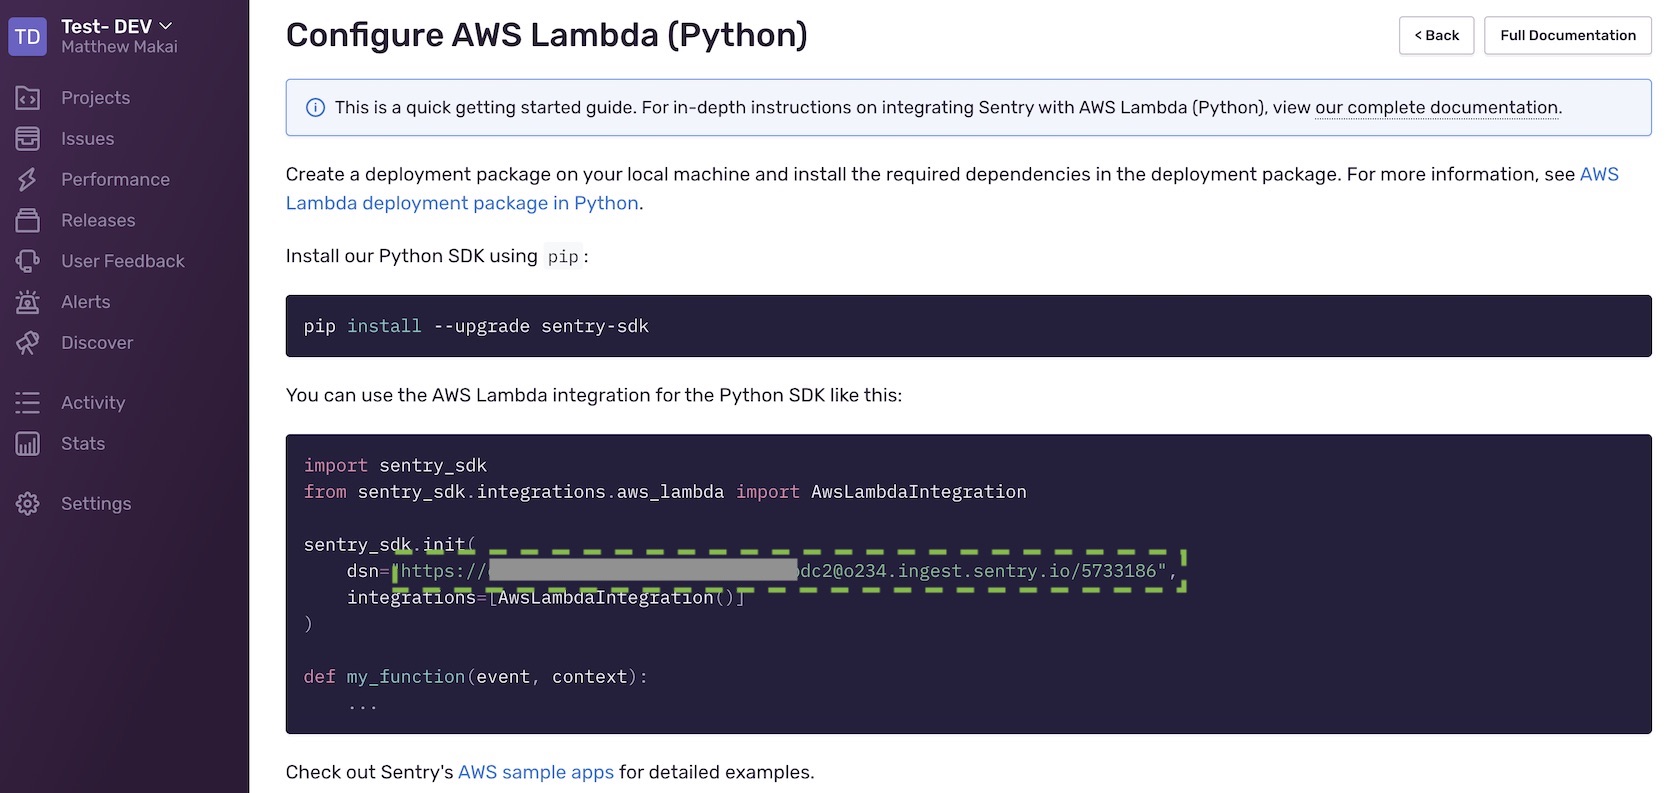
Under "Choose a Platform", select "Serverless" and then "AWS Lambda (Python)" as shown below:
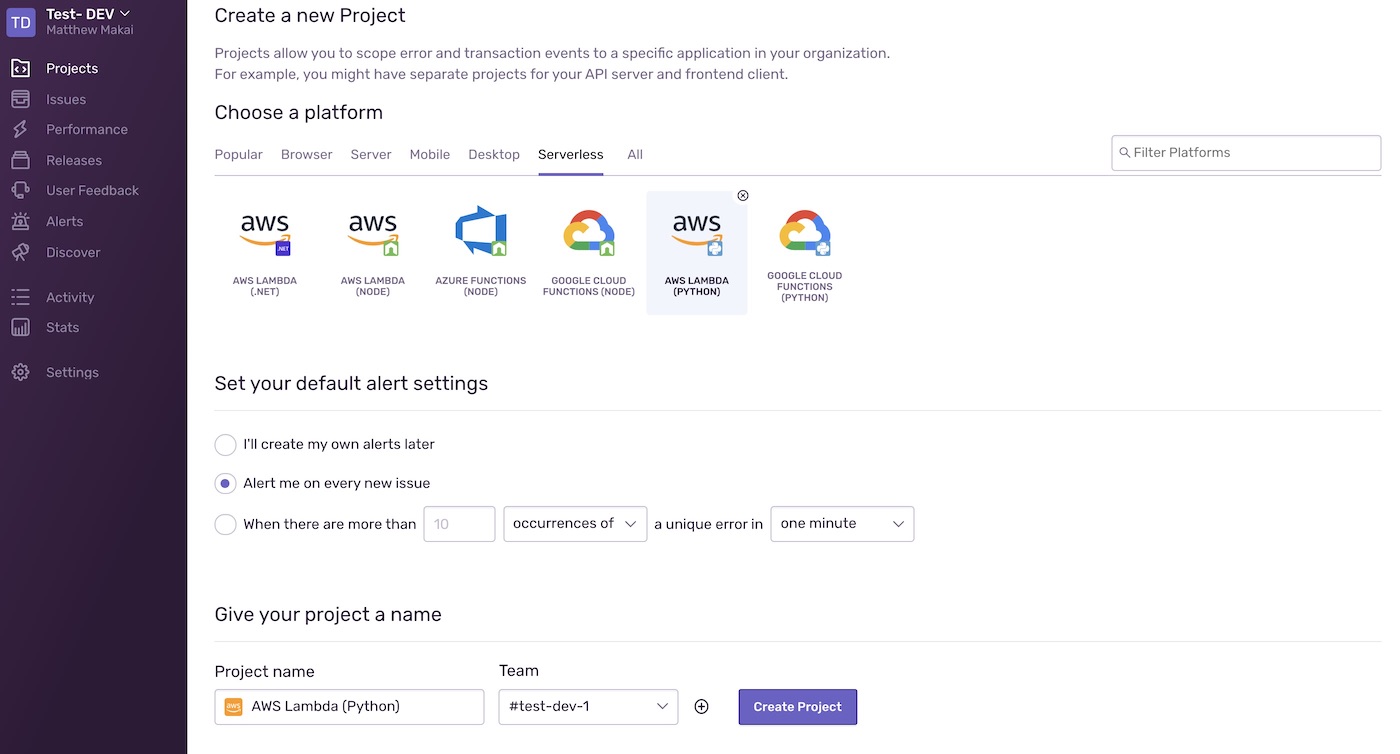
Decide under what criteria it should send error information out of Lambda. For this tutorial, we will have it send every exception. Then click the "Create Project." button.
You can have Sentry handle the instrumentation automatically but we will handle it manually for our function. On the next screen, Sentry will provide you with your unique DSN string, which we will need for our function.
Typically you will want to use environment variables on AWS Lambda to store and access values like your Sentry key.
Copy the contents of the Sentry DSN string, and go into the Lambda console to create a new environment variable. To do that, click the "Configuration" tab within Lambda like you see here:

Then click "Edit" and add a new environment variable with the key of SENTRY_DSN
and the value of the DSN string that you copied from the Sentry screen.
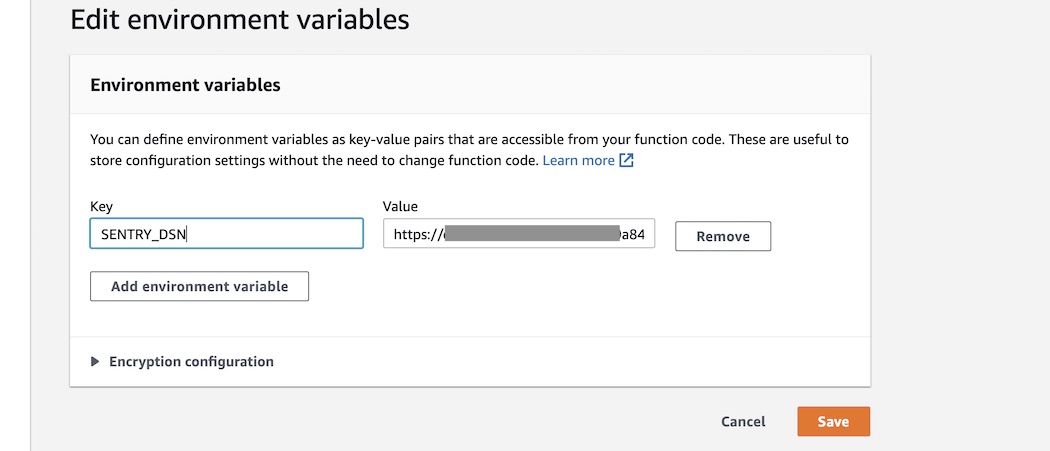
Click the "Save" button and go back to your Lambda function code.
Update your Lambda function with the following highlighted new lines of code to send errors to Sentry.
import json
import os
import sentry_sdk
from sentry_sdk.integrations.aws_lambda import AwsLambdaIntegration

SENTRY_DSN = os.environ.get('SENTRY_DSN')
sentry_sdk.init(
    dsn=SENTRY_DSN,
    integrations=[AwsLambdaIntegration()]
)

print('Loading function')


def lambda_handler(event, context):
    #print("Received event: " + json.dumps(event, indent=2))
    print("value1 = " + event['key1'])
    print("value2 = " + event['key2'])
    print("value3 = " + event['key3'])
    print("value4 = " + event['key4'])
    return event['key1']  # Echo back the first key value
    #raise Exception('Something went wrong')
Click the "Deploy" button and then "Test". The code will throw an error and when we go back to our Sentry dashboard we will see it captured and viewable for further inspection.
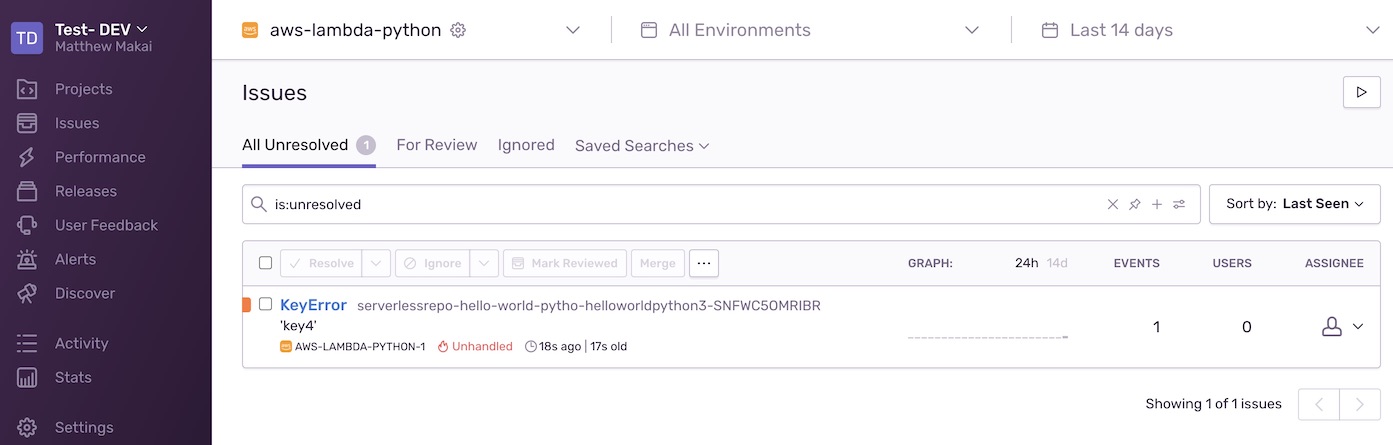
It works! Next you will likely want to tune your exception reporting criteria to make sure you get alerted to the right number of exceptions if you do not want to see all of them.
What's Next?
We just wrote and executed a Python 3 function on AWS Lambda then captured the exception message into the Sentry logs. You can now continue building out your Python code knowing that when something goes wrong you will have full visibility on what happened.
Check out the AWS Lambda section for more tutorials by other developers.
Further questions? Contact me on Twitter @fullstackpython or @mattmakai. I am also on GitHub with the username mattmakai.
Something wrong with this post? Fork this page's source on GitHub and submit a pull request.