Developing Flask Apps in Docker Containers on macOS
Adding Docker to your Python and Flask development environment can be confusing when you are just getting started with containers. Let's quickly get Docker installed and configured for developing Flask web applications on your local system.
Our Tools
This tutorial is written for Python 3. It will work with Python 2 but I have not tested it with the soon-to-be deprecated 2.7 version.
Docker for Mac is necessary. I recommend the stable release unless you have an explicit purpose for the edge channel.
Within the Docker container we will use:
- Python 3, specifically the slim-3.6.5 version from Docker Hub
- Flask version 1.0.2
All of the code for the Dockerfile and the Flask app are available open source under the MIT license on GitHub under the docker-flask-mac directory of the blog-code-examples repository. Use the code for your own purposes as much as you like.
Installing Docker on macOS
We need to install Docker before we can spin up our Docker containers. If you already have Docker for Mac installed and working, feel free to jump to the next section.
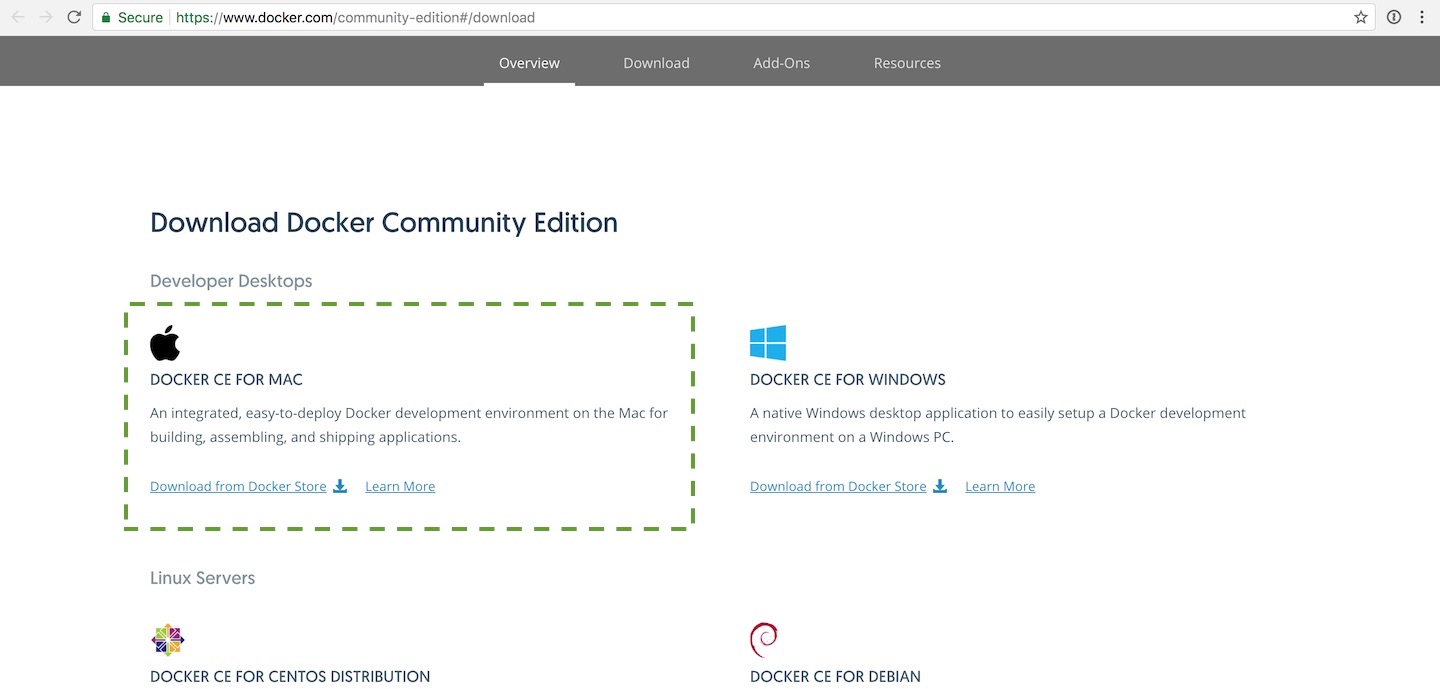
On your Mac, download the Docker Community Edition (CE) for Mac installer.
Find the newly-downloaded install within Finder and double click on the file. Follow the installation process, which includes granting administrative privileges to the installer.
Open Terminal when the installer is done. Test your Docker installation with the
--version flag:
docker --version
If Docker is installed correctly you should see the following output:
Docker version 18.03.1-ce, build 9ee9f40
Note that Docker runs through a system agent you can find in the menu bar.
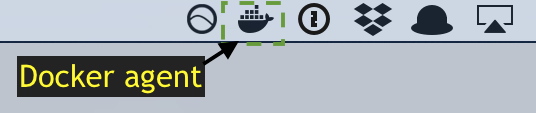
I have found the Docker agent to take up some precious battery life on my Macbook Pro. If I am not developing and need to max battery time I will close down the agent and start it back up again when I am ready to code.
Now that Docker is installed let's get to running a container and writing our Flask application.
Dockerfile
Docker needs to know what we want in a container, which is where the
Dockerfile comes in.
# this is an official Python runtime, used as the parent image
FROM python:3.6.5-slim

# set the working directory in the container to /app
WORKDIR /app

# add the current directory to the container as /app
ADD . /app

# execute everyone's favorite pip command, pip install -r
RUN pip install --trusted-host pypi.python.org -r requirements.txt

# unblock port 80 for the Flask app to run on
EXPOSE 80

# execute the Flask app
CMD ["python", "app.py"]
Save the Dockerfile so that we can run our next command with the completed contents of the file. On the commandline run:
docker build -t flaskdock .
The above docker build file uses the -t flag to tag the image with
the name of flaskdock.
If the build worked successfully we can see the image in with the
docker image ls command. Give that a try now:
docker image ls
We should then see our tag name in the images list:
REPOSITORY          TAG                 IMAGE ID            CREATED             SIZE
flaskdock           latest              24045e0464af        2 minutes ago       165MB
Our image is ready to load up as a container so we can write a quick Flask app that we will use to test our environment by running it within the container.
Coding A Simple Flask app
Time to put together a super simple "Hello, World!" Flask web app to test
running Python code within our Docker container. Within the current
project directory, create a file named app.py with the following contents:
from flask import Flask, Response


app = Flask(__name__)


@app.route("/")
def hello():
    return Response("Hi from your Flask app running in your Docker container!")


if __name__ == "__main__":
    app.run("0.0.0.0", port=80, debug=True)
The above 7 lines of code (not counting blank PEP8-compliant lines) in app.py allow our application to return a simple message when run with the Flask development server.
We need just one more file to specify our Flask dependency. Create
a requirements.txt file within the same directory as app.py:
flask==1.0.2
Make sure both the app.py and requirements.txt file are saved then
we can give the code a try.
Running the Container
Now that we have our image in hand along with the Python code in a file
we can run the image as a container with the docker run command. Execute
the following command, making sure to replace the absolute path for the
volume to your own directory.
docker run -p 5000:80 --volume=/Users/matt/devel/py/flaskdocker:/app flaskdock
If you receive the error
python: can't open file 'app.py': [Errno 2] No such file or directory then
you likely forgot to chance /Users/matt/devel/py/flaskdocker to the
directory where your project files, especially app.py, are located.

Everything worked when you see a simple text-based HTTP response like what is shown above in the screenshot of my Chrome browser.
What's Next?
We just installed Docker and configured a Flask application to run inside a container. That is just the beginning of how you can integrate Docker into your workflow. I strongly recommend reading the Django with PostgreSQL quickstart that will introduce you to Docker Swarm as well as the core Docker container service.
Next up take a look at the Docker and deployment pages for more related tutorials.
Questions? Let me know via a GitHub issue ticket on the Full Stack Python repository, on Twitter @fullstackpython or @mattmakai.
Do you see a typo, syntax issue or just something that's confusing in this blog post? Fork this page's source on GitHub and submit a pull request with a fix or file an issue ticket on GitHub.