How to Use Redis with Python 3 and redis-py on Ubuntu 16.04
Redis is an in-memory key-value pair NoSQL data store often used for web application sessions, transient data and as a broker for task queues. redis-py is a common Python code library for interacting with Redis. Let's learn how to get Redis up and running on Ubuntu and then start using it in a simple Python application.
Tools We Need
This tutorial is tested with Python 3.5 but either
Python 2 or 3 should work for everything written
here. Just make sure one version is installed on your system by going to
the terminal and typing python --version. Other than Python itself,
here is the software we are going to use throughout the rest of this post:
- Ubuntu 16.04 (these instructions should work fine with earlier Ubuntu versions as well)
- pip and virtualenv to handle the redis-py application dependency
- Redis
- redis-py
If you aren't sure how how to install pip and virtualenv, review the first few steps of the how to set up Python 3, Flask and Green Unicorn on Ubuntu 16.04 LTS guide.
Install Redis
There are a few ways to install Redis, such as
downloading and compiling from source.
However, on Ubuntu we can install a system package through apt. The
advantage of this method is that the apt process will take care of
installing redis-server as a system service. Open the terminal and run
the following command:
sudo apt-get install redis-server
Enter your sudo password and when you are prompted whether you want
to install the new package enter 'yes'.
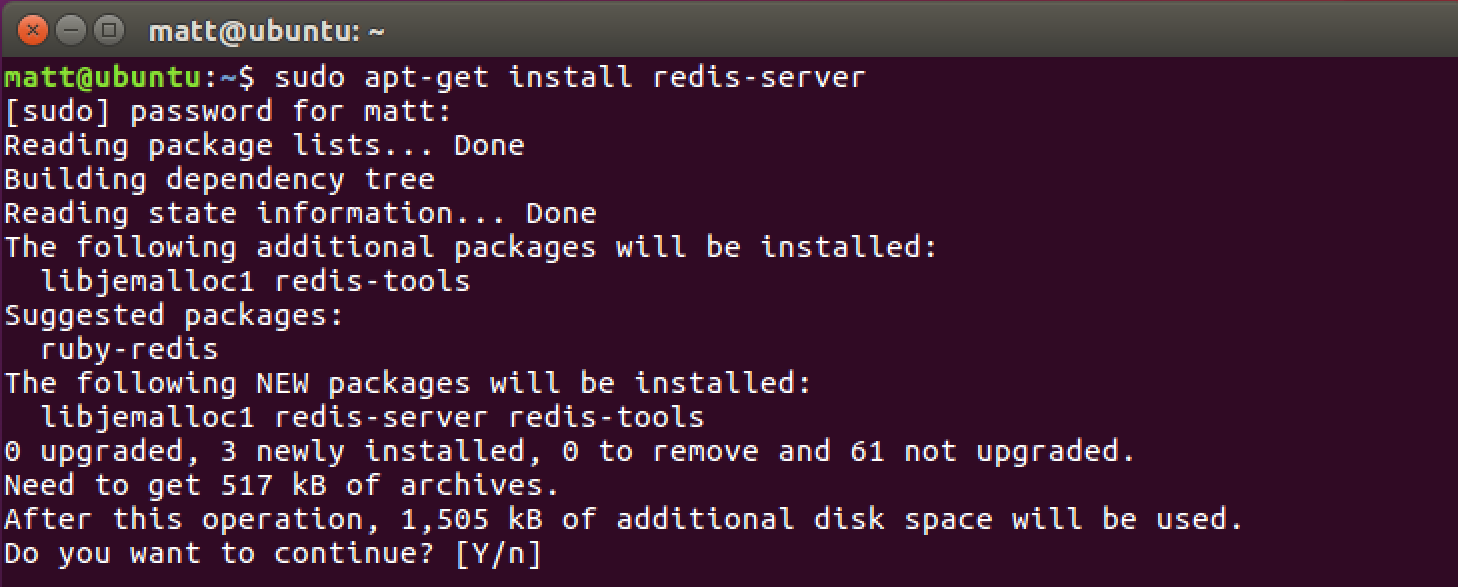
After a few moments the downloading and processing should be complete and you will be back at the prompt.
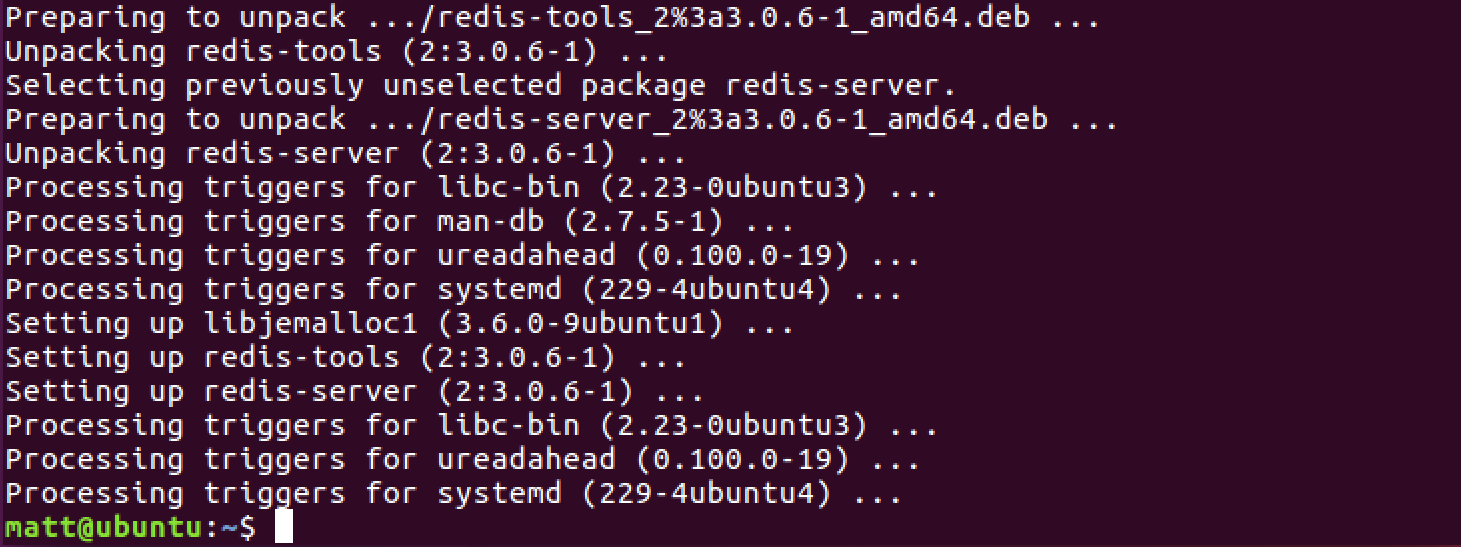
Redis is now installed and the Redis server is running in the background
as a system service. Even though we installed the redis-server package,
the installation also comes with the Redis command line client. The client
is useful for connecting directly to the Redis server without any Python
code. Give redis-cli a try by typing this into the command prompt:
redis-cli
The Redis client connects to the localhost server and gives a new prompt to show it's ready for commands:

Give the prompt a try by using Redis commands such as keys * or set a 1.
The full list of Redis commands is provided in the
project documentation.
Virtualenv and Install redis-py
We need to figure out our python3 location, then create a virtualenv,
activate the virtualenv and then install redis-py with pip.
Determine your python3 executable location with the which command.
which python3
You'll see some output like the following screenshot.

Create a new virtualenv either in your home directory or wherever you
store your project virtualenvs. Specify the full path to your python3
installation.
# specify the system python3 installation
virtualenv --python=/usr/bin/python3 venvs/redistest
Activate the virtualenv.
source ~/venvs/redistest/bin/activate
Next we can install the redis-py Python package from
PyPI using the pip command.
pip install redis
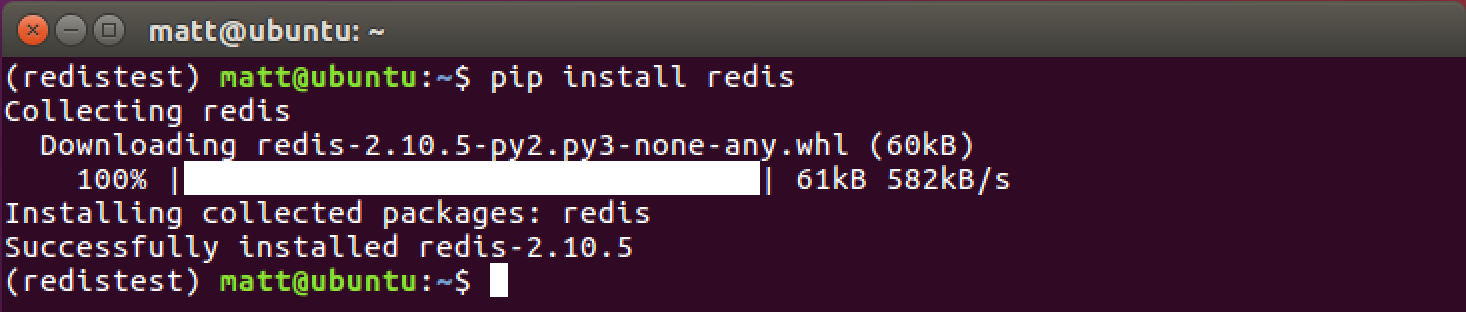
Alright, now it is installed in our virtualenv. Let's write some simple Python code to try out give redis-py!
Working with Redis from Python
Fire up the Python REPL with the python or python3 command. You can also
write the following code in a Python file such as "testredis.py" then
execute it with python testredis.py.
import redis
# create a connection to the localhost Redis server instance, by
# default it runs on port 6379
redis_db = redis.StrictRedis(host="localhost", port=6379, db=0)
# see what keys are in Redis
redis_db.keys()
# output for keys() should be an empty list "[]"
redis_db.set('full stack', 'python')
# output should be "True"
redis_db.keys()
# now we have one key so the output will be "[b'full stack']"
redis_db.get('full stack')
# output is "b'python'", the key and value still exist in Redis
redis_db.incr('twilio')
# output is "1", we just incremented even though the key did not
# previously exist
redis_db.get('twilio')
# output is "b'1'" again, since we just obtained the value from
# the existing key
redis_db.delete('twilio')
# output is "1" because the command was successful
redis_db.get('twilio')
# nothing is returned because the key and value no longer exist
That is a quick introduction to some commonly-used Redis commands invoked by their Python bindings through the redis-py library. Take a look at the redis-py official documentation to learn more about the extensive command list you can use to create, read, modify and delete keys and values in Redis.
Questions? Tweet @fullstackpython or post a message on the Full Stack Python Facebook page. See something wrong in this post? Fork this page's source on GitHub and submit a pull request.