How to set up Python 3, Flask and Green Unicorn on Ubuntu 16.04 LTS
Ubuntu's latest Long Term Support (LTS) operating system was released last year, in April 2016. The 16.04 update for Ubuntu is known as "Xenial Xerus" and it is the first Ubuntu release to include Python 3 as the default Python installation.
We can use the Ubuntu release along with Python version 3.5 to start a new Flask web application project and run it with Green Unicorn (Gunicorn).
Tools We'll Need
Our project will use the Ubuntu 16.04 release along with a few other libraries. You don't have to install these tools just yet, we will get to them as we progress through the walkthrough. Our requirements and their current versions as of April 2017 are:
- Ubuntu 16.04.2 LTS (Xenial Xerus)
- Python version 3.5.1 (default in Ubuntu 16.04.2)
- Flask web framework version 0.12
- Green Unicorn (Gunicorn) version 19.7.1
If you're running on Mac OS X or Windows, use virtualization software such as Parallels or VirtualBox with the Ubuntu .iso file. Either the amd64 or i386 version of 16.04 is fine. I'm using amd64 for development and testing in this tutorial.
Once you boot up Ubuntu, you should see a screen like this one.

Open up a terminal window to proceed with the setup.
System Packages
We can see the python3 system version Ubuntu comes with and where its executable is stored using these commands.
python3 --version
which python3

Our Ubuntu installation requires a few system packages. We will get prompted for the superuser password because restricted system access is needed to install packages through apt.
sudo apt-get install python3-dev python3-pip
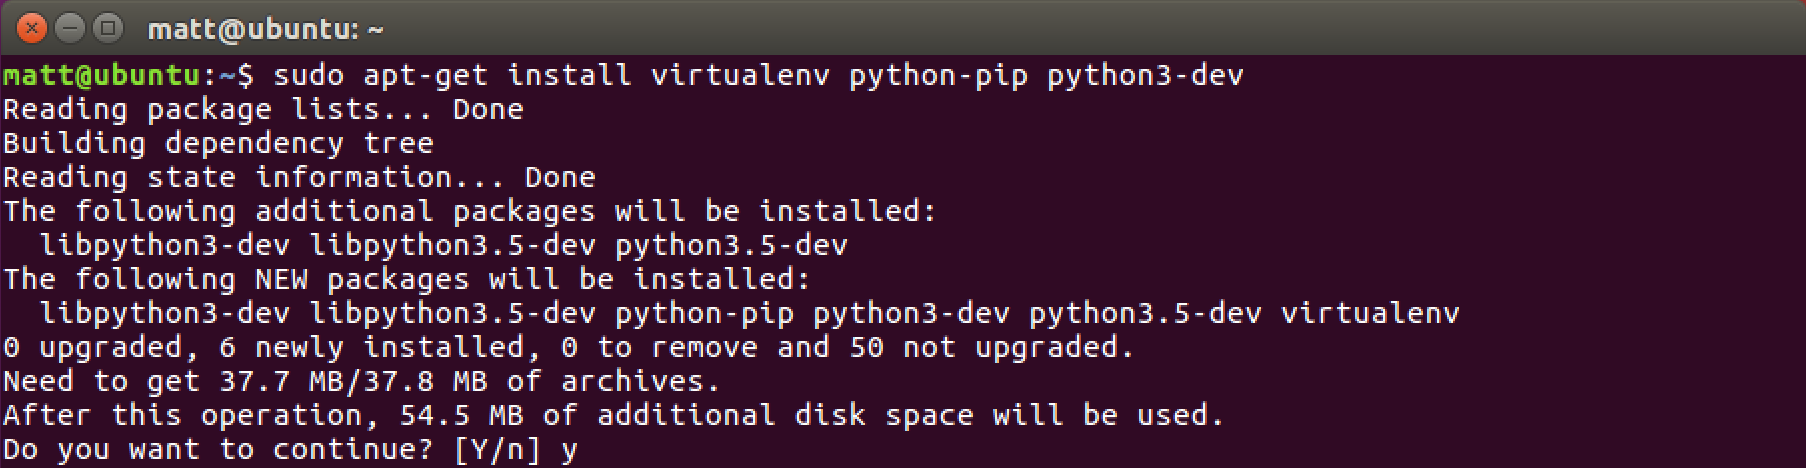
Enter y to let the system package installation process do its job.

The packages we need are now installed. We can continue on to install our Python-specific dependencies.
Virtualenv
In the previous section, virtualenv and pip were installed to handle our application dependencies. We can now use them to download and install Flask and Gunicorn.
Create a directory for the virtualenvs. Then create a new virtualenv.
# make sure pip and setuptools are the latest version
pip3 install --upgrade pip setuptools
# the tilde "~" specifies the user's home directory, like /home/matt
cd ~
mkdir venvs
# specify the system python3 installation
python3 -m venv venvs/flaskproj
Activate the virtualenv.
source ~/venvs/flaskproj/bin/activate
Our prompt will change after we properly activate the virtualenv.

Our virtualenv is now activated with Python 3. We can install whatever dependencies we want, in our case Flask and Gunicorn.
Flask and Gunicorn
We can finally install Flask and Green Unicorn via the pip command.
pip install flask gunicorn
It is a good sign if we receive no errors like we see in the following screenshot.

Create a new directory under our home directory that will store our Flask project. Change directory into the new folder.
mkdir ~/flaskproj
cd ~/flaskproj
Create a new file named __init__.py within our flaskproj directory so
we can test to make sure Flask is working properly. I prefer to use
Vim but Emacs and other
development environments work great as
well.
Within __init__.py write the following code.
from flask import Flask, Response


app = Flask(__name__)

@app.route("/")
def index():
    return Response("It works!"), 200

if __name__ == "__main__":
    app.run(debug=True)
We could run our app with the Flask development server using the
python __init__.py command. Instead run the Flask app with
Gunicorn. Go to the directory above the flaskproj folder, in our
case we can enter cd ~ then use the gunicorn command:
gunicorn flaskproj:app

Sweet, we can bring up our shell Flask app in the web browser at
the localhost:8000 or 127.0.0.1:8000 address.

Now we're ready for some real Flask development!
Ready for Development
That's a simple setup for developing with Flask and Gunicorn on Ubuntu 16.04. If you need an in-depth step-by-step tutorial to deploy your WSGI-powered web application to a production environment, check out the Full Stack Python Guide to Deployments book.
To determine what to code next for your Python project, read the topics found on the table of contents page.
Questions? Contact me via Twitter @fullstackpython or @mattmakai. I'm also on GitHub with the username mattmakai.
Something wrong with this post? Fork this page's source on GitHub and submit a pull request.