Configuring Python 3, Pyramid and Gunicorn on Ubuntu 16.04
Canonical's Ubuntu 16.04 Long Term Support (LTS) Linux operating system, also known as "Xenial Xerus", was released in April 2016. It is the first Ubuntu release to include Python 3 instead of Python 2 as its default Python installation.
The Pyramid web framework has long supported Python 3. With just a few short steps we can start a new Pyramid project and run it with Green Unicorn (Gunicorn) on Ubuntu 16.04.
Required Tools
Our project requires Ubuntu 16.04 plus several code libraries. You do not need to install these tools yet - we will get to them in turn as the walkthrough progresses. Our requirements and their current versions are:
- Ubuntu 16.04 LTS (Xenial Xerus)
- Python version 3.5 (default in Ubuntu 16.04)
- Pyramid web framework version 1.7
- Gunicorn version 19.6
- Waitress version 0.9.0
If you are developing on Mac OS X or Windows, you can use virtualization software such as Parallels or VirtualBox with the Ubuntu .iso file. Either the amd64 or i386 version of 16.04 is fine. While creating this I used the amd64 version.
A desktop screen like this one appears when you boot up Ubuntu.
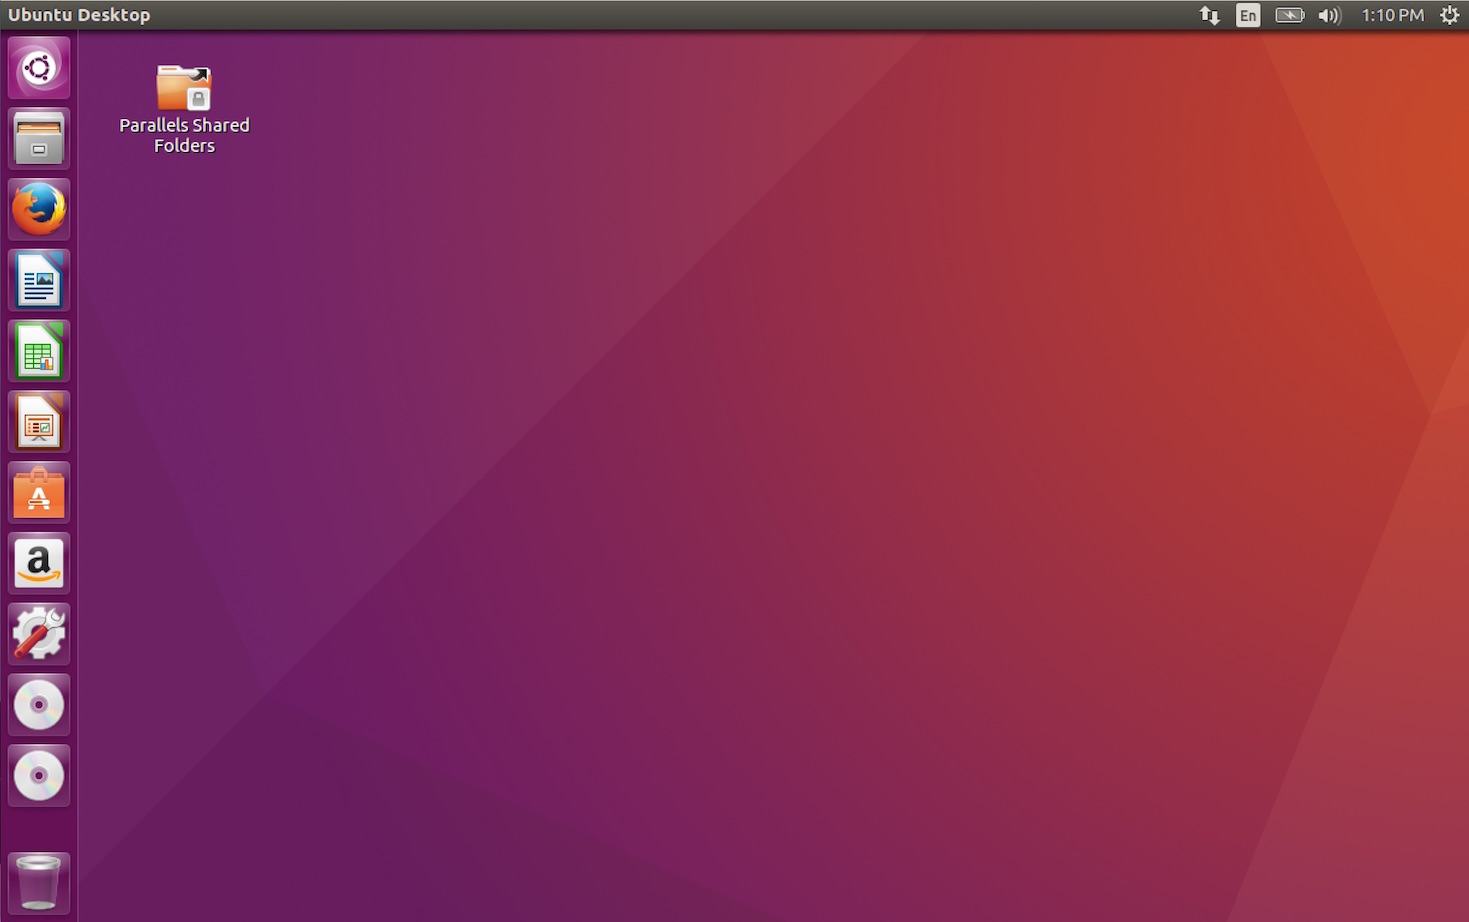
Open a new terminal window so we can be ready to install required system packages.
Install System Packages
The precise Python version can be shown using the python command with the
--version argument.
python3 --version
We can also view where the python3 program is installed on Ubuntu using the
which command.
which python3

Ubuntu requires a few system packages before we can properly install Pyramid
and Gunicorn. When we run the apt command to install system packages we
will be prompted for the superuser password. Restricted system access is
necessary to modify files within the system folders.
sudo apt-get install python3-dev
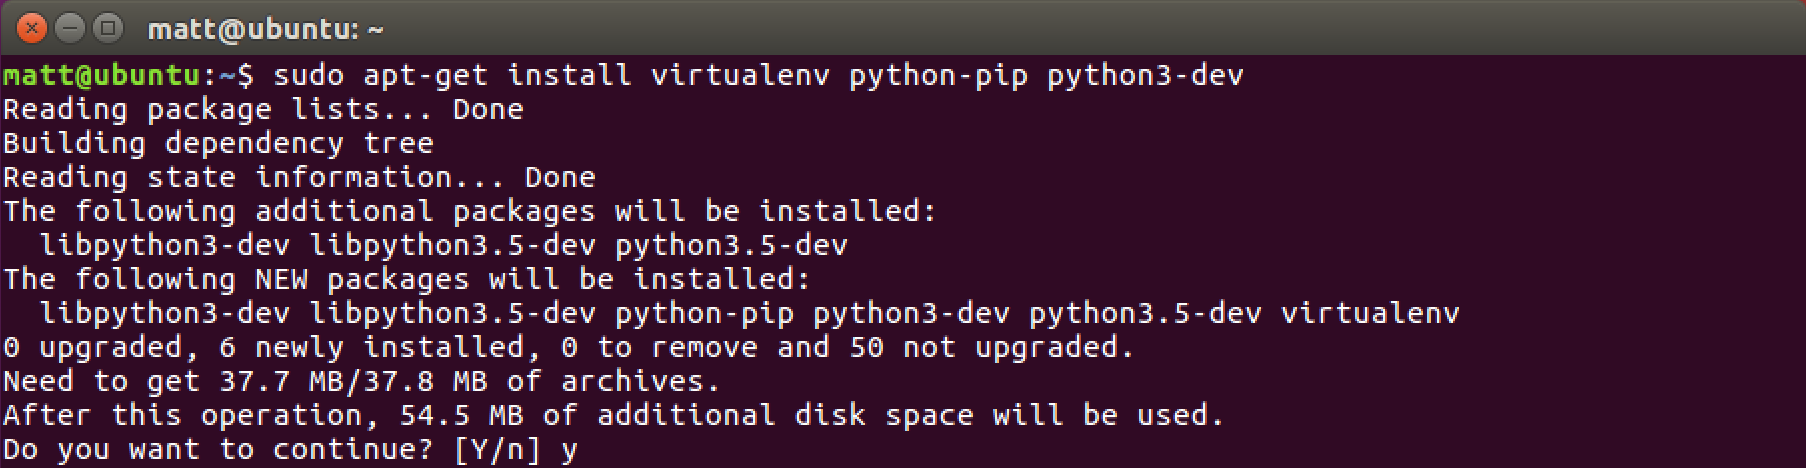
Press y then return to let the system package installation run.
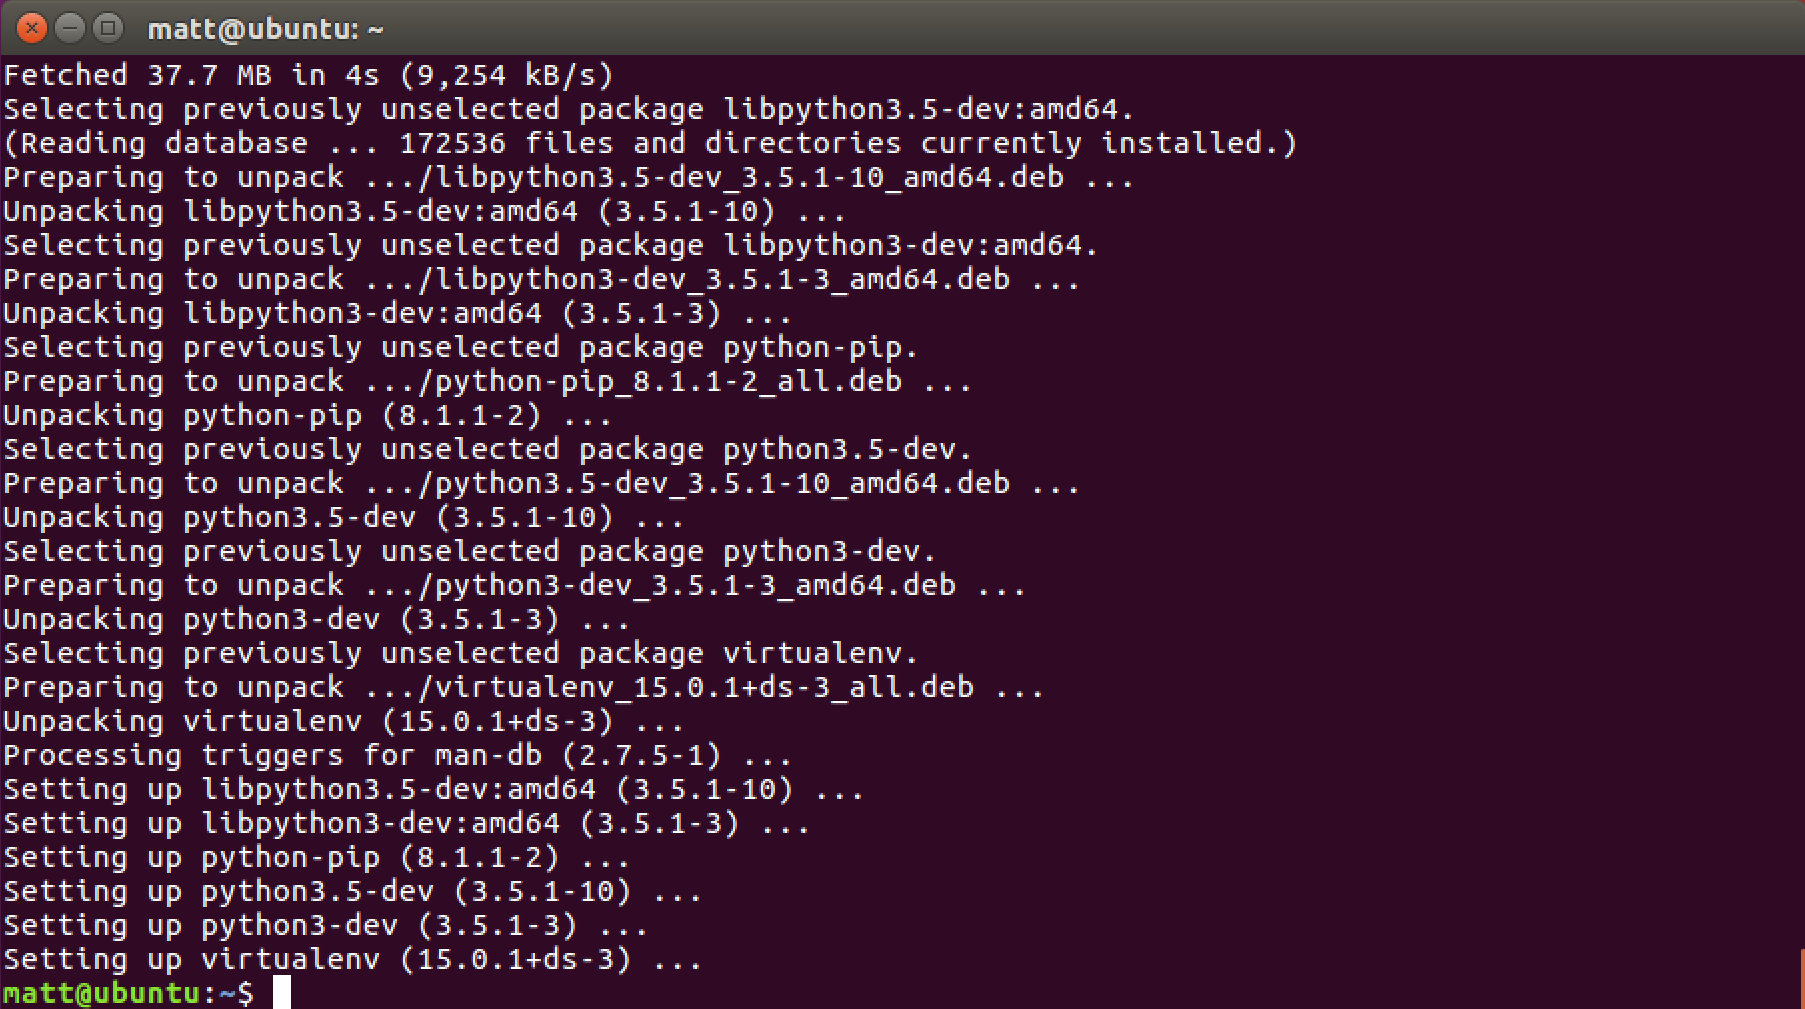
The required system packages are installed. We can now install the Python-specific dependencies.
Set up a virtual environment
Create a directory for the virtual environments. Then create a new virtual environment.
# the tilde "~" specifies the user's home directory, like /home/matt
cd ~
mkdir venvs
# specify the system python3 installation
/usr/bin/python3 -m venv venvs/pyramidproj
Activate the virtual environment.
source ~/venvs/pyramidproj/bin/activate
Our prompt will change after we properly activate the virtual environment to
something like (pyramidproj) matt@ubuntu:~$.

Our virtual environment is activated with Python 3.
We should update pip and venv to the latest versions in our virtual environment.
pip install --upgrade pip setuptools
We can install whatever dependencies we want, in our case Pyramid and Gunicorn.
Install Python Packages
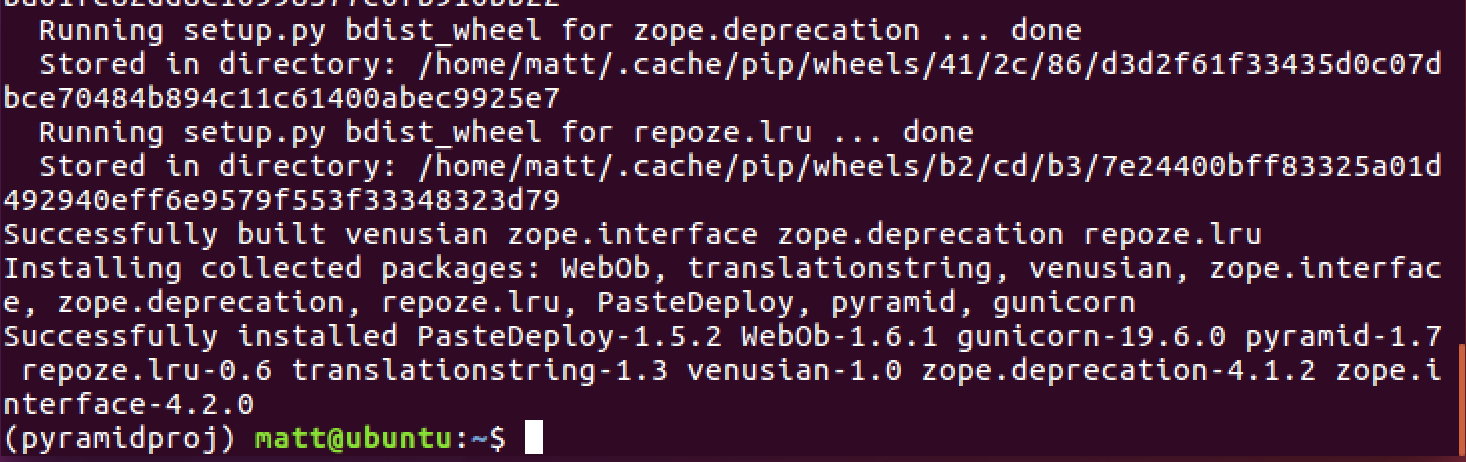
We can install Pyramid, Gunicorn and Waitress into our virtual environment using
the pip command.
pip install pip install "pyramid==1.7" gunicorn waitress
No errors like we see in the following screenshot is a good sign.
Pyramid comes with a project starter template creation tool named pcreate.
Run pcreate to generate the boilerplate for a new Pyramid project named
"pyramidproj".
pcreate -s starter pyramidproj
Use the cd (change directory) command to move into the new folder.
cd ~/pyramidproj
A slew of new files have been created within the "pyramidproj" directory. These are the basic files you can customize for the web application you want to build. A good resource for understanding and modifying these files is to follow the quick tutorial for Pyramid.
For now, we just want to use Gunicorn to run our starter pyramidproj app.
Install pyramidproj into your virtual environment using the python command on
setup.py.
python setup.py develop
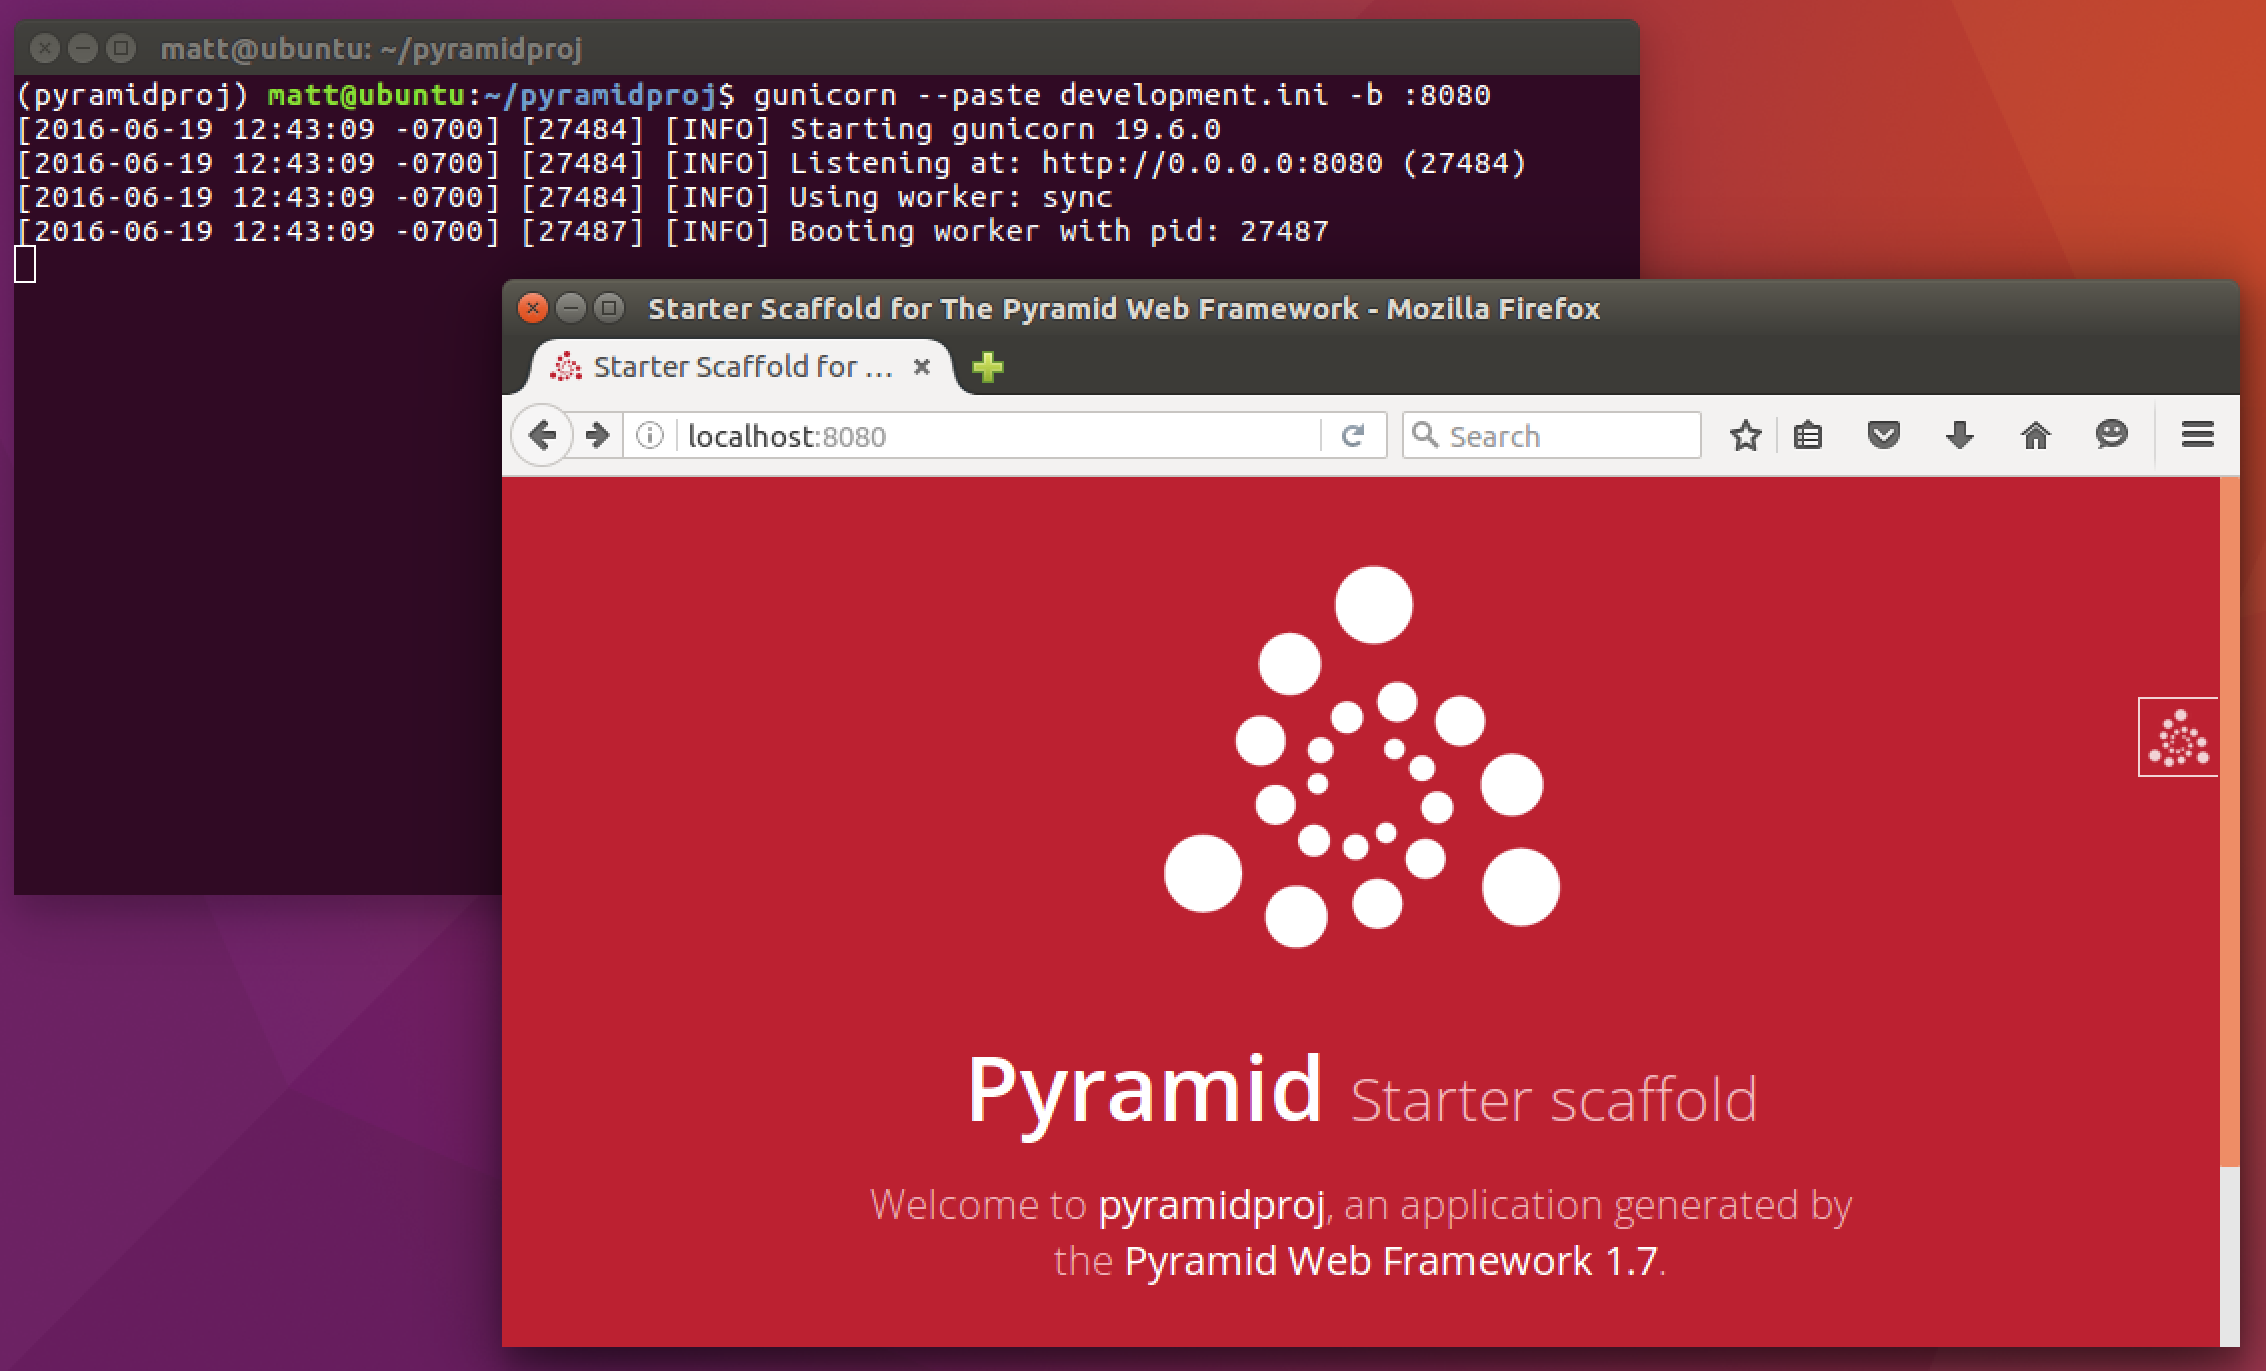
Now we can run our app with Gunicorn. Pyramid is a
paste-compatible
framework, so we use the --paste argument to run the WSGI server with
the "development.ini" configuration file. In addition, the -b argument
tells Gunicorn which port number to bind on when the server starts.
gunicorn --paste development.ini -b :8080

Cool, we can bring up our starter Pyramid project up in the web browser at
the localhost:8000 or 127.0.0.1:8000 address.
Time to develop a full-fledged web application with Pyramid!
Ready to Develop with Pyramid
Now you have a simple setup to develop Pyramid web apps using Gunicorn as the WSGI server on Ubuntu 16.04. If you need a full step-by-step tutorial to deploy your Python web application to a production environment, check out the Full Stack Python Guide to Deployments book.
To decide what to do next with your Python project, check out the Full Stack Python table of contents page.
See something wrong in this post? Fork this page's source on GitHub and submit a pull request.