How to Create Your First Static Site with Pelican and Jinja2
Pelican is an incredibly well-built Python tool for creating static sites.
Full Stack Python is generated with Pelican, Jinja2 templates and Markdown. This site is deployed to Amazon S3 and currently handles over one hundred thousand readers per month. There are never scaling concerns because a static site is pre-generated before deployment and a web server simply responds with existing files rather than executing any code on the server during the HTTP request-response cycle.
In this tutorial you will learn how to create your own static website from scratch using Pelican.
Our simple static site will have pages that look like the above screenshot but the entire site can be easily customized and expanded with your own design and content.
Our Tools
This tutorial should work with either Python 2 or 3, but Python 3 is strongly recommended for all new applications. I used Python 3.6.1 to write this post. In addition to Python, throughout this tutorial we will also use the following application dependencies:
- Pelican static site generator, version 3.7.1
- Markdown parsing library to handle Markdown as a content input format, version 2.6.8
- Jinja2, a Python template engine, version 2.9.6
- pip and virtualenv, which come packaged with Python 3, to install and isolate the Pelican, Markdown, and Jinja2 libraries from any of your other Python projects
If you need help getting your development environment configured, take a look at this guide for setting up Python 3 and Flask on Ubuntu 16.04 LTS
All code in this blog post is available open source under the MIT license on GitHub under the generating-static-websites-pelican-jinja2-markdown directory of the blog-code-examples repository. Use and abuse the source code as you like for your own applications.
Install the Pelican and Markdown libraries
Start by creating a new virtual environment for your project. My virtualenv
is named staticsite but you can name yours whatever matches the project
you are creating.
python3 -m venv staticsite
Activate the virtualenv.
source staticsite/bin/activate
The virtualenv will prepend its name to your command prompt when it is activated.

Install the appropriate dependencies after your virtualenv is activated.
Use the pip command to install Pelican and Markdown, which will also
install Jinja2 because Pelican specifies it as a dependency.
pip install pelican==3.7.1 markdown==2.6.8
Run the pip command and after everything is installed you should see output
similar to the following "Successfully installed" message.
Installing collected packages: pygments, pytz, six, feedgenerator, blinker, unidecode, MarkupSafe, jinja2, python-dateutil, docutils, pelican, markdown
  Running setup.py install for feedgenerator ... done
  Running setup.py install for blinker ... done
  Running setup.py install for MarkupSafe ... done
  Running setup.py install for markdown ... done
Successfully installed MarkupSafe-1.0 blinker-1.4 docutils-0.13.1 feedgenerator-1.9 jinja2-2.9.6 markdown-2.6.8 pelican-3.7.1 pygments-2.2.0 python-dateutil-2.6.0 pytz-2017.2 six-1.10.0 unidecode-0.4.20
Now that our dependencies are installed into the virtualenv we can start building our static site.
Generate a Basic Site
Create a new directory to store your project. My site will contain some of my favorite retro synthwave artists as examples, but of course your site can contain whatever subjects that you want.
Change into the project directory after creating it.
mkdir retrosynth
cd retrosynth
Run the pelican-quickstart command within the new project directory.
(staticsite) $ pelican-quickstart
The quickstart script will rattle off a bunch of questions. Follow along with the answers below or modify them for your own site name and desired configuration.
Welcome to pelican-quickstart v3.7.1.

This script will help you create a new Pelican-based website.

Please answer the following questions so this script can generate the files
needed by Pelican.


> Where do you want to create your new web site? [.]
> What will be the title of this web site? RetroSynthwave
> Who will be the author of this web site? Matt Makai
> What will be the default language of this web site? [en]
> Do you want to specify a URL prefix? e.g., http://example.com   (Y/n) n
> Do you want to enable article pagination? (Y/n) n
> What is your time zone? [Europe/Paris] America/New_York
> Do you want to generate a Fabfile/Makefile to automate generation and publishing? (Y/n)y
> Do you want an auto-reload & simpleHTTP script to assist with theme and site development? (Y/n) y
> Do you want to upload your website using FTP? (y/N) n
> Do you want to upload your website using SSH? (y/N) n
> Do you want to upload your website using Dropbox? (y/N) n
> Do you want to upload your website using S3? (y/N) y
> What is the name of your S3 bucket? [my_s3_bucket]
> Do you want to upload your website using Rackspace Cloud Files? (y/N) n
> Do you want to upload your website using GitHub Pages? (y/N) n
Done. Your new project is available at /Users/matt/devel/py/retrosynth
(staticsite) $
What did we just create using Pelican's quickstart script? Check out the new files in the directory.
(staticsite) $ ls
Makefile        develop_server.sh   pelicanconf.py
content         fabfile.py          publishconf.py
The quickstart created five files and one new directory:
Makefile:makecommand convenience tasks for common operations such as running a development server, building a site and cleaning extraneous build filesfabfile.py: A Fabric file that has some of the same types of commands as theMakefile. Fabric is a wonderful code library but for now I recommend skipping the Fabric file because unfortunately Fabric does not yet support Python 3.develop_server.sh: shell script for running the development serverpelicanconf.py: settings file for your Pelican project. If you are used to earlier versions of Pelican this file was instead namedsettings.pypublishconf.py: another (optional) settings file that can be considered as a "production" settings file when you move past the development phase and want to deploy your sitecontent: location for your markup files, which should be stored underpagesandpostsdirectories
We can use these files as the base for our new static site. Let's see what
it looks like by default by running it via the devserver task in the
Makefile.
make devserver
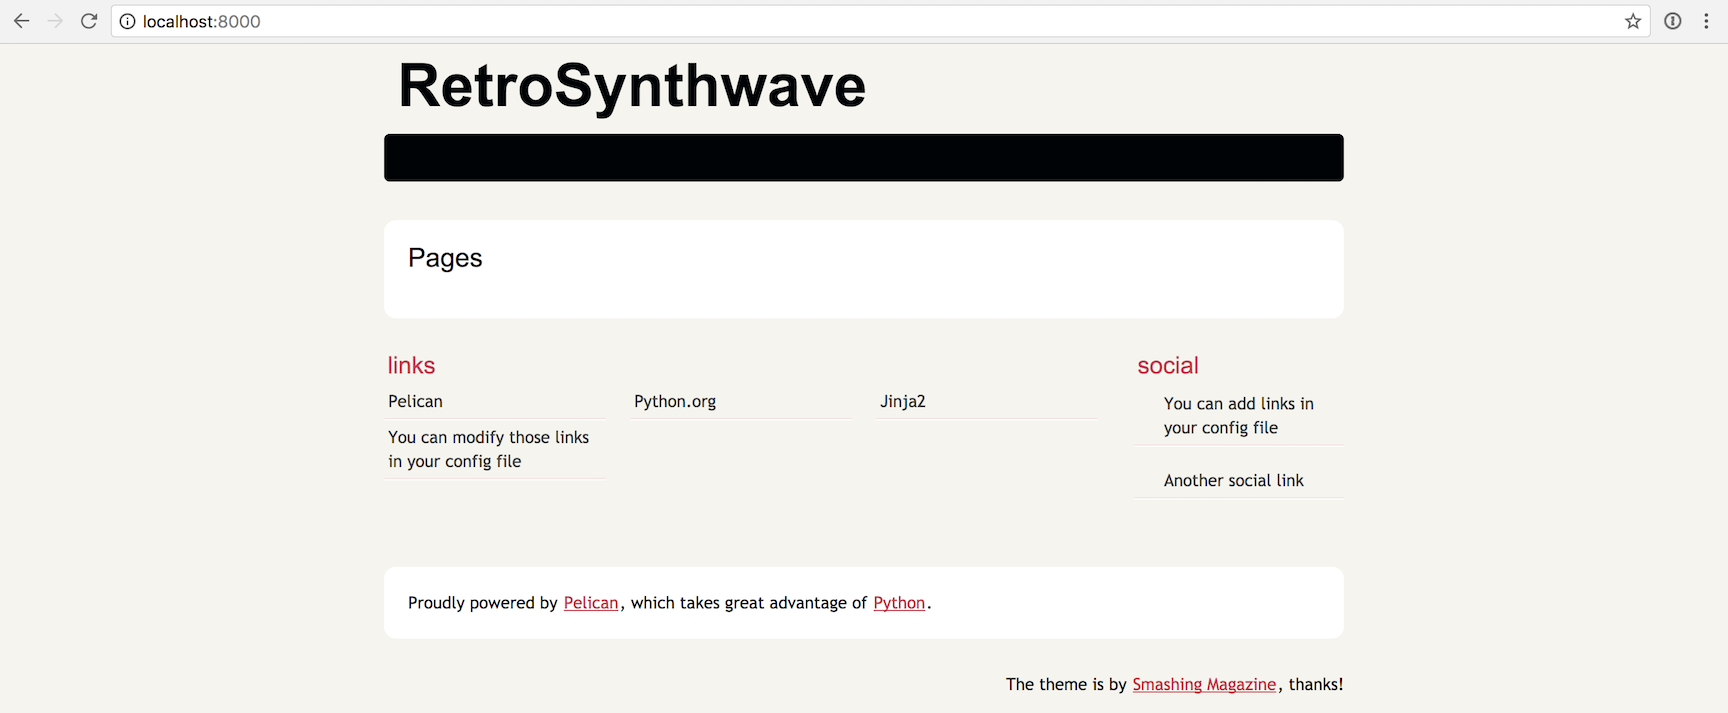
The Pelican development server will start serving up your site with a daemon process. Go to localhost:8000 in your web browser and you will see the first version of your static site.
What if you don't have make installed on your system? Change into the
output directory and use the python -m http.server command to use the
built-in Python 3 HTTP server for your generated files.
When you want to kill the development server look for a file named
pelican.pidunder your project directory. The pelican.pid file is created
by Pelican and contains the process ID for your development server.
(staticsite) $ cat pelican.pid
1365
Use the ps and grep commands to view the process then stop the process
with the kill command as follows. Remember that your process ID will almost
definitely be different from the 1365 ID for my process.
Kill the development server now so that we can use different commands to serve our site after we create our initial content.
(staticsite) $ ps -A | grep 1365
 1365 ttys003    0:01.43 /Library/Frameworks/Python.framework/Versions/3.6/Resources/Python.app/Contents/MacOS/Python /Users/matt/Envs/staticsite/bin/pelican --debug --autoreload -r /Users/matt/devel/py/retrosynth/content -o /Users/matt/devel/py/retrosynth/output -s /Users/matt/devel/py/retrosynth/pelicanconf.py
 1411 ttys003    0:00.00 grep 1365
(staticsite) $ kill 1365
(staticsite) $ ps -A | grep 1365
 1413 ttys003    0:00.00 grep 1365
It is up to you whether you want to use the development server or not
while creating your site. Every time I want to view my changes for
Full Stack Python I regenerate the site using my own Makefile that
wraps the pelican command. The python -m http.server command constantly
serves up each build's changes.
Alright, now that we have our starter files we can get to work creating some initial content.
Write Some Content
Pelican can accept both Markdown and reStructureText markup files as input.
Make a new subdirectory under the content named posts. Change into
the posts directory. Create a new file named gunship.markdown with
the following content.
title: Gunship
slug: gunship
category: bands
date: 2017-06-09
modified: 2017-06-09


[Gunship](https://www.gunshipmusic.com/) is a *retro synthwave* artist out of the UK.

[Revel in Your Time](https://www.youtube.com/watch?v=uYRZV8dV10w),
[Tech Noir](https://www.youtube.com/watch?v=-nC5TBv3sfU),
[Fly for Your Life](https://www.youtube.com/watch?v=Jv1ZN8c4_Gs)
and
[The Mountain](https://www.youtube.com/watch?v=-HYRTJr8EyA)
are all quality songs by Gunship. Check out those amazing music videos!

Also take a look at other retro synthwave artists such as
[Trevor Something](https://trevorsomething.bandcamp.com/),
[Droid Bishop](https://droidbishop.bandcamp.com/),
[FM-84](https://fm84.bandcamp.com/)
and
[Daniel Deluxe](https://danieldeluxe.bandcamp.com/).
Our make file can also help us regenerate the site when changes occur
if we choose to not use the development server.
We used the devserver task earlier, but what other task are available
to us via the Makefile?
make
make should show us all of the following tasks we can run.
Makefile for a pelican Web site

Usage:
   make html                           (re)generate the web site
   make clean                          remove the generated files
   make regenerate                     regenerate files upon modification
   make publish                        generate using production settings
   make serve [PORT=8000]              serve site at http://localhost:8000
   make serve-global [SERVER=0.0.0.0]  serve (as root) to :80
   make devserver [PORT=8000]          start/restart develop_server.sh
   make stopserver                     stop local server
   make ssh_upload                     upload the web site via SSH
   make rsync_upload                   upload the web site via rsync+ssh
   make dropbox_upload                 upload the web site via Dropbox
   make ftp_upload                     upload the web site via FTP
   make s3_upload                      upload the web site via S3
   make cf_upload                      upload the web site via Cloud Files
   make github                         upload the web site via gh-pages

Set the DEBUG variable to 1 to enable debugging, e.g. make DEBUG=1 html
Set the RELATIVE variable to 1 to enable relative urls
The html task is what we are looking for to invoke the pelican command
using our pelicanconf.py settings file.
(staticsite) $ make html
pelican /Users/matt/devel/py/retrosynth/content -o /Users/matt/devel/py/retrosynth/output -s /Users/matt/devel/py/retrosynth/pelicanconf.py
Done: Processed 1 article, 0 drafts, 0 pages and 0 hidden pages in 0.14 seconds.
Our site has been regenerated and placed in the output directory.
If you used the make devserver command earlier then change into the output
directory and give Python's built-in HTTP server a shot with the following
command.
cd output
python -m http.server
Our first post in all its glory...
You can change the HTTP server port binding by adding a number after the command, if you want to serve more than one static site at a time or you already have an application bound to port 8000.
python -m http.server 8005
Note that if you are using Python 2 the equivalent HTTP server command is
python -m SimpleHTTPServer.
Our site now has some very basic content. We could expand this start into many more posts and pages but let's learn how to modify the site configuration.
Edit Site Configuration
Pelican's quickstart assumed a bunch of defaults that may or may not be
applicable to your site. Open up the pelicanconf.py file to change some
of the defaults.
Look for the TIMEZONE variable. If it's not right for your location
then modify it to your zone. Wikipedia has a handy
table of valid time zones values.
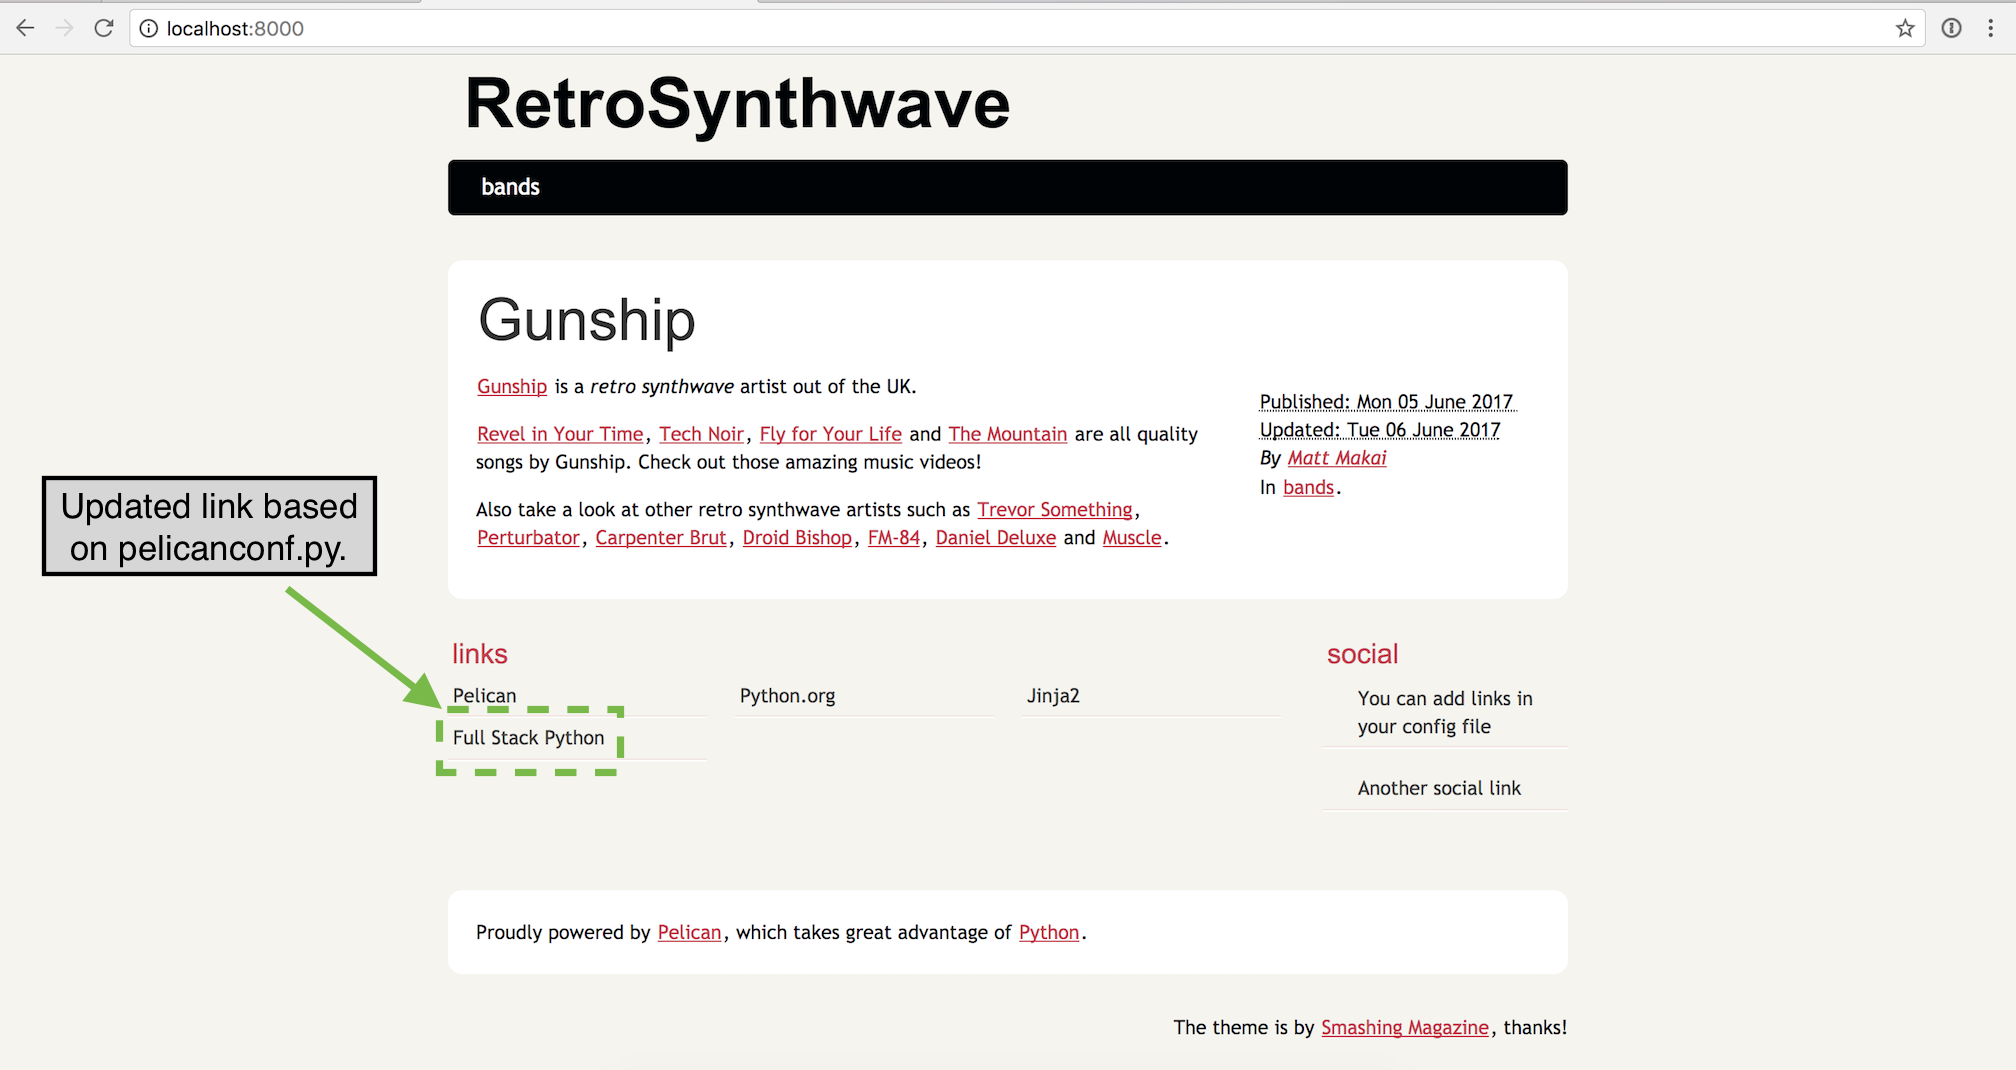
Also modify the LINKS tuple to include your site (or Full Stack Python!)
instead of including the "you can modify those links" link. Change the
last line of LINKS so it looks like the following tuple of tuples.
# Blogroll
LINKS = (('Pelican', 'http://getpelican.com/'),
         ('Python.org', 'http://python.org/'),
         ('Jinja2', 'http://jinja.pocoo.org/'),
         ('Full Stack Python', 'https://www.fullstackpython.com/'),)
Instead of using the make html file, this time we will invoke the
pelican command directly from the command line. There is nothing wrong
with the Makefile, but it is a good idea to get comfortable with Pelican
directly instead of only through build files.
pelican -s pelicanconf.py -o output content
Now run the HTTP server if you do not already have it running in another terminal window.
cd output
python -m http.server
Head back to the browser and refresh to view the updated configuration.
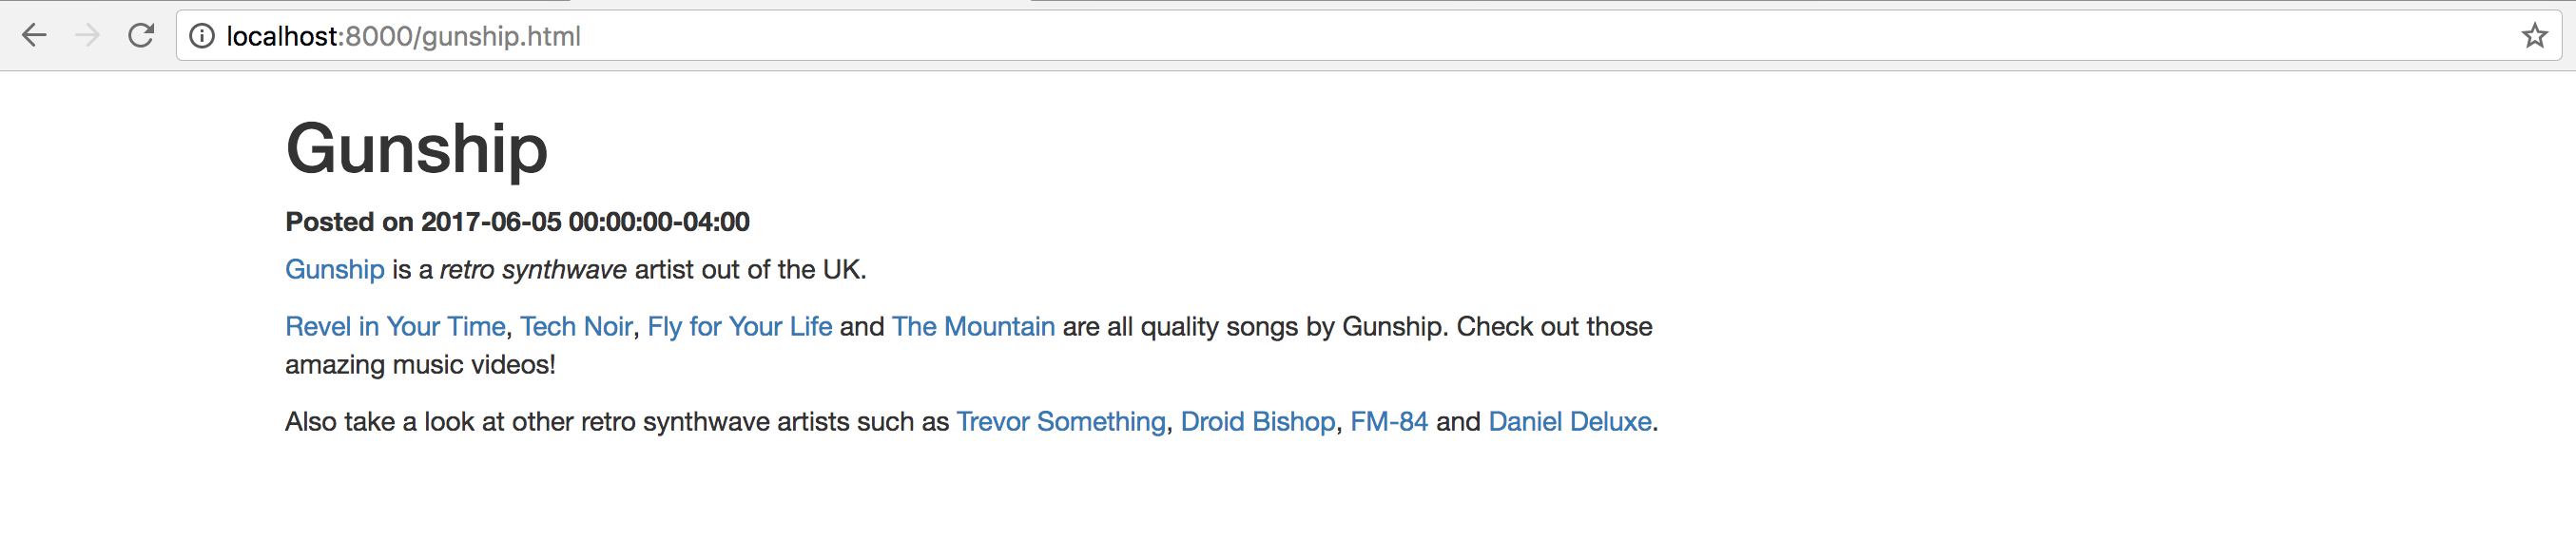
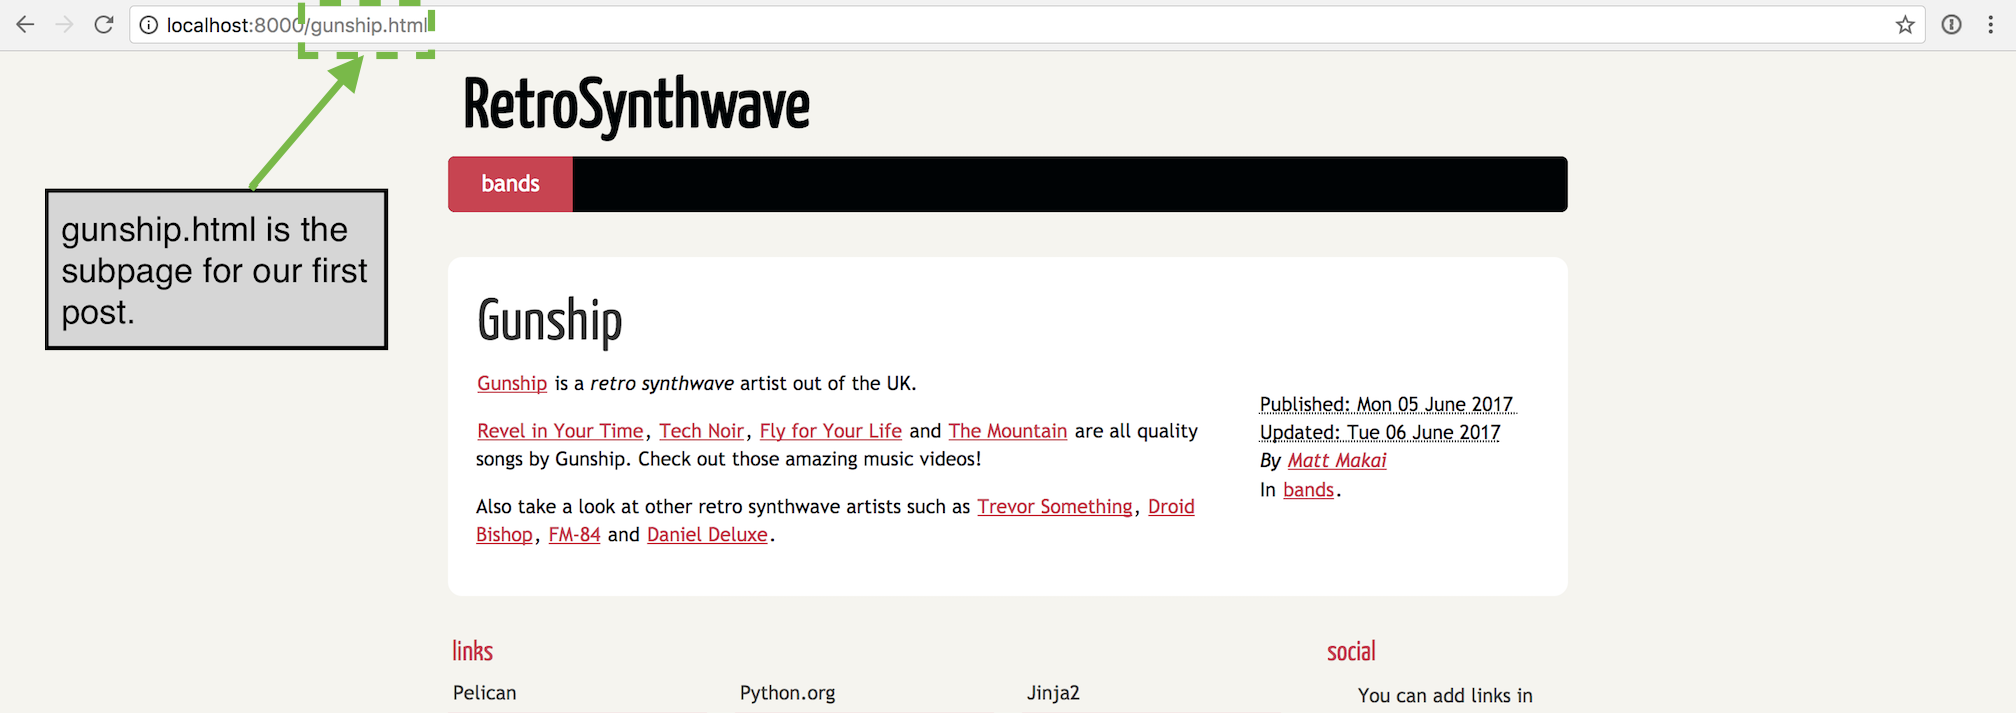
What happens when we click on the blog post title? It takes us to a very similar-looking page with the localhost:8000/gunship.html URL.
Alright, we updated some basic site-wide data, but our site really could use a change of paint.
Modify Site Theme
Changing the site theme is really where you can turn a standard blog into whatever type of site you want to build. While the default Pelican configuration creates a blog template, you do not need to have a chronological structure if it is not right for your website.
Create a new directory under your project directory that is named
theme. Within theme create another directory named templates.
templates is where our Jinja2 templates will be stored and
can override the default theme.
Start by creating a file named base.html which will store the boilerplate
used by templates across the site.
<!DOCTYPE html>
<html lang="en">
<head>
 <title>{% block title %}{% endblock %}</title>
</head>
<body>
 <div class="container">
  {% block content %}{% endblock %}
 </div>
</body>
</html>
Within theme/templates create a file named article.html that will have a
different theme for blog posts than the rest of the site. Fill article.html
with the following Jinja2 markup.
{% extends "base.html" %}

{% block title %}{{ article.title }}{% endblock %}

{% block content %}
<div class="row">
 <div class="col-md-8">
  <h1>{{ article.title }}</h1>
  <label>Posted on <strong>{{ article.date }}</strong></label>
  {{ article.content }}
 </div>
</div>
{% endblock %}
Next we will use a Jinja2 template to override the default index.html main
page. Again within the theme/templates directory, create a file named
index.html with the following markup.
{% extends "base.html" %}

{% block title %}{{ SITENAME }}{% endblock %}

{% block content %}
<div class="row">
 <div class="col-md-8">
  <h1>{{ SITENAME }}</h1>
  {% for article in articles %}
   <h2><a href="/{{ article.slug }}.html">{{ article.title }}</a></h2>
   <label>Posted on <strong>{{ article.date }}</strong></label>
   {{ article.content|truncate(110) }}
  {% else %}
   No posts yet!
  {% endfor %}
 </div>
</div>
{% endblock %}
Regenerate the site and make sure you are serving it with the development
server or the python -m http.server command.
Make sure to use the new -t theme flag to specify that the Jinja2
templates within the theme directory should be applied to the site.
pelican -s pelicanconf.py -o output -t theme content
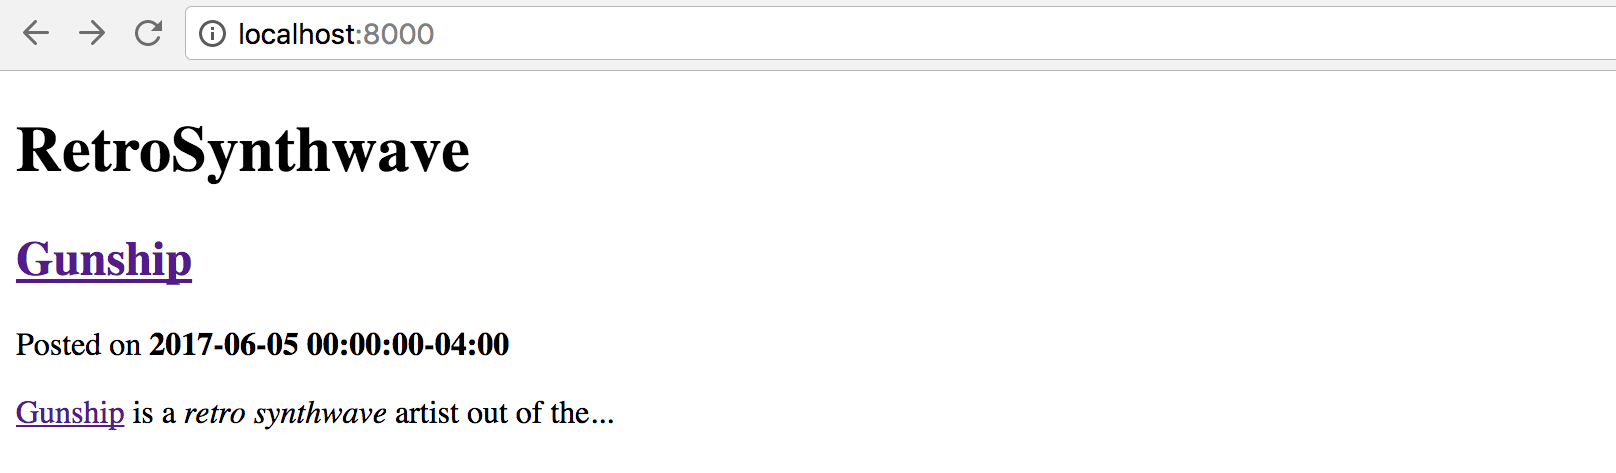
Go to localhost:8000 and refresh the page.
The styling on the main page is now different because it uses the index.html
theme.
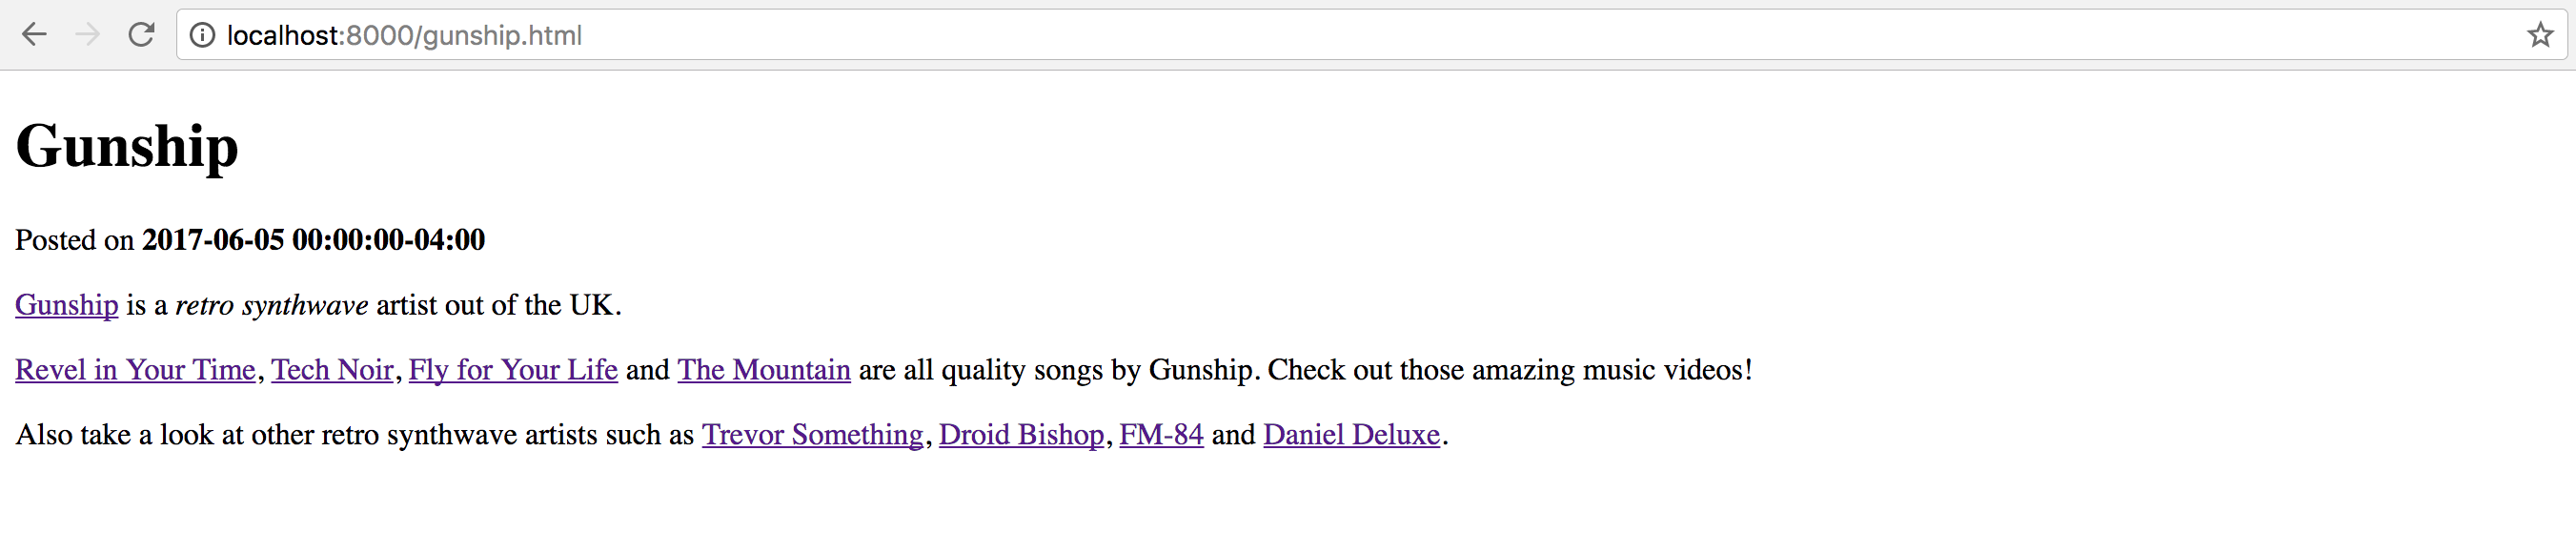
Click on the title of the Gunship post. This page uses the article.html
template, although it's hard to tell because there is no
CSS applied to the page.
Pretty sparse! We can at least add the Bootstrap CSS to the HTML to align our content.
Within base.html, add the following line for Bootstrap under
<title>{% block title %}{% endblock %}</title> and above </head>.
<!-- Latest compiled and minified Bootstrap CSS -->
<link rel="stylesheet" href="https://maxcdn.bootstrapcdn.com/bootstrap/3.3.7/css/bootstrap.min.css" integrity="sha384-BVYiiSIFeK1dGmJRAkycuHAHRg32OmUcww7on3RYdg4Va+PmSTsz/K68vbdEjh4u" crossorigin="anonymous">
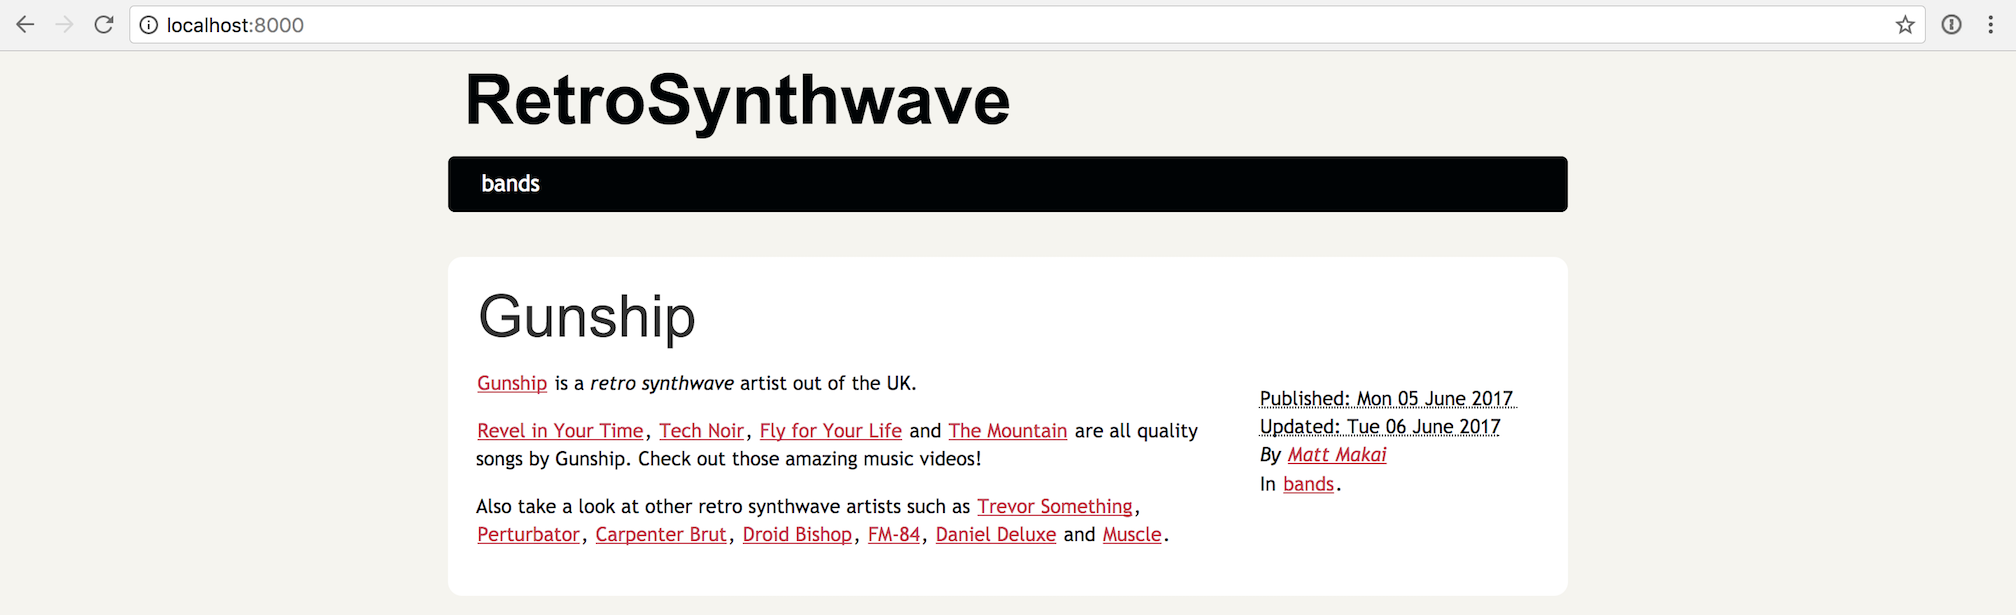
Regenerate the site and refresh the Gunship page.
Well at least our design has moved from 1996 to 2001. I am sure you can do a whole lot more to improve your own site's design.
The new base.html does not provide much of a theme yet but it at least
provides a fresh start for completely customized sites.
What's next?
You generated your first Pelican static website using Markdown and Jinja2. Additional modifications can be made to the Jinja2 templates and the content contained in the Markdown files.
Do you want to deploy your new static website to GitHub Pages or an S3 bucket? Well, that's a story for another Full Stack Python tutorial...
Questions? Let me know via a GitHub issue ticket on the Full Stack Python repository, on Twitter @fullstackpython or @mattmakai.
See something wrong in this blog post? Fork this page's source on GitHub and submit a pull request.